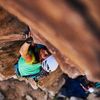
So it all started with a message from our housemate with a link to a facebook post on SF Bay Area Climber Group. Someone selling a old treadwall for $500. These things are worth about 10-15k new from the seller we knew we had to pounce on it. So Spang reached out and bought it on the spot.
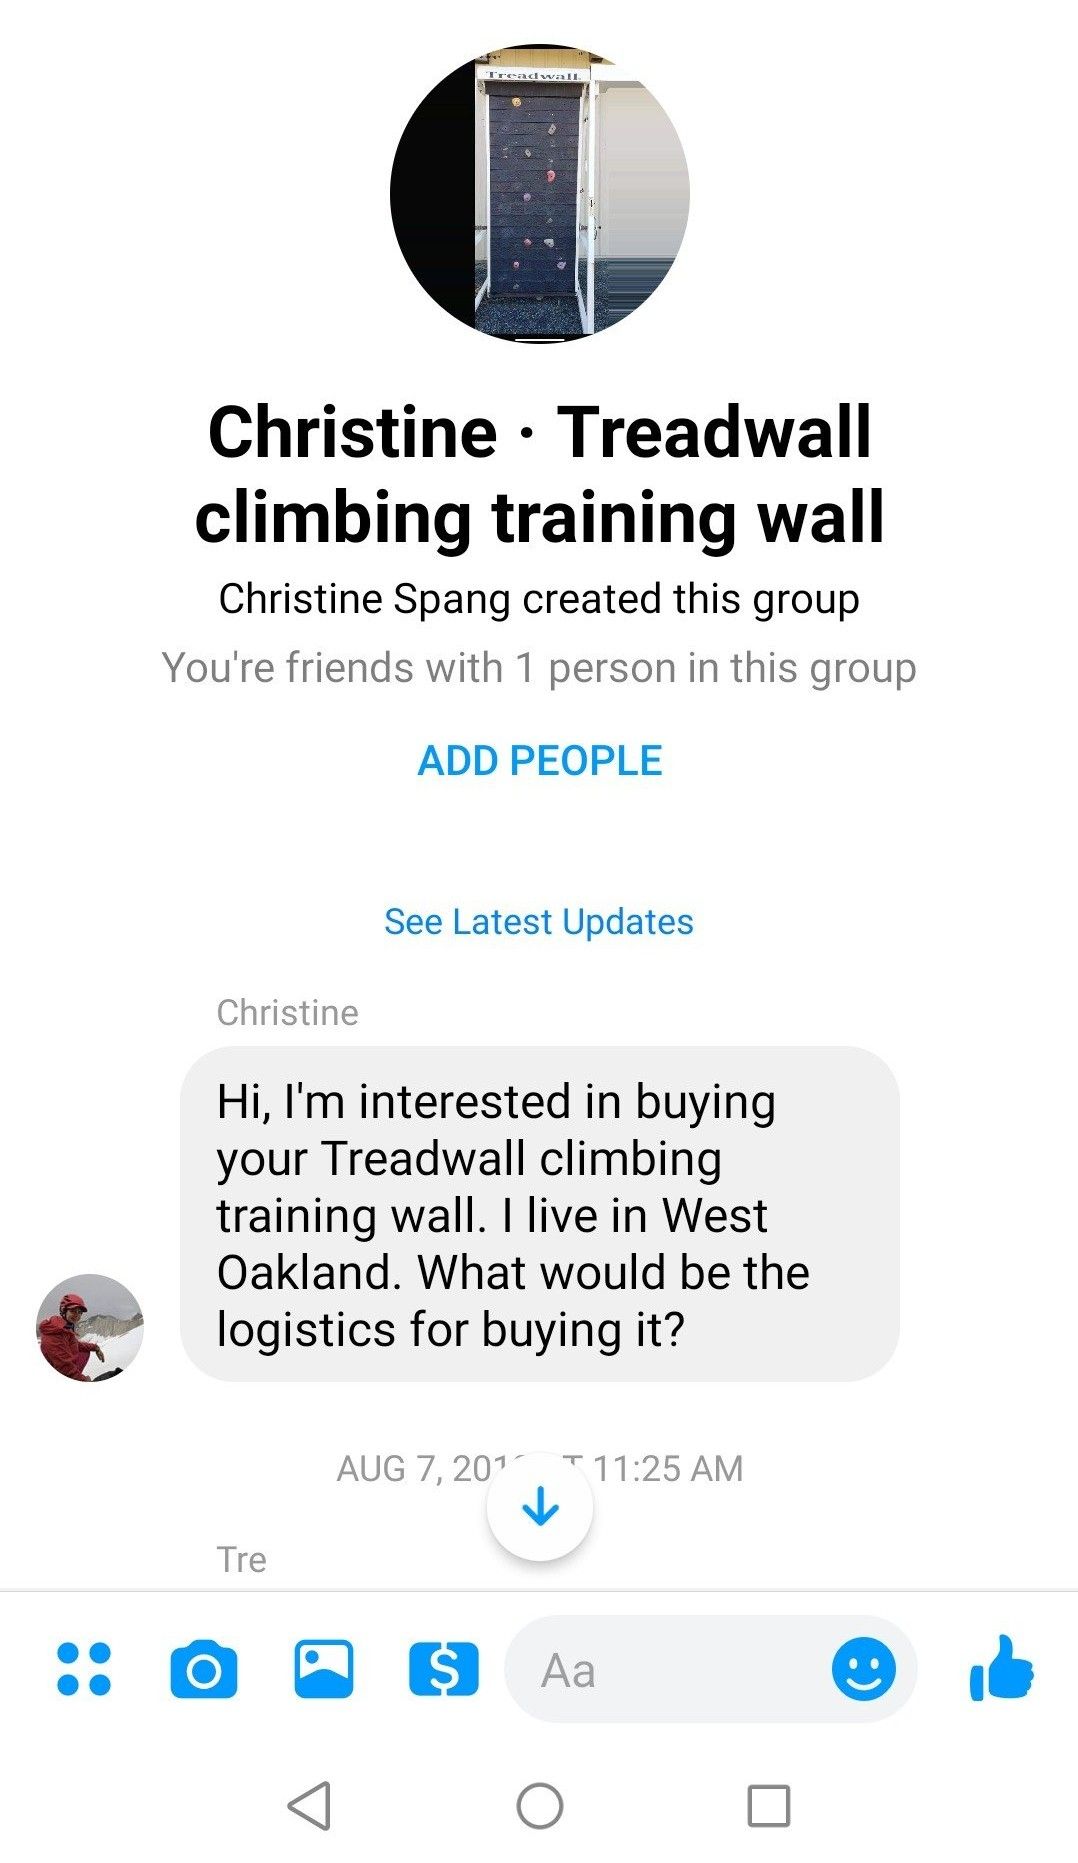
They eventually dropped it off onto our property. It was completely assembled still. I learned that Brewer Fitness (the company that originally makes these) never moves them intact. They always dissasemble them to move them. It was a bit terrible seeing it being dropped off onto some planters we didn't mind being destroyed. The sound was startling when it slammed down crushing the makeshift planters. Spang self-consolingly said "It's fine..." As we realized that this monstrosity was now our problem. Which is why it was basically sold to us for free.
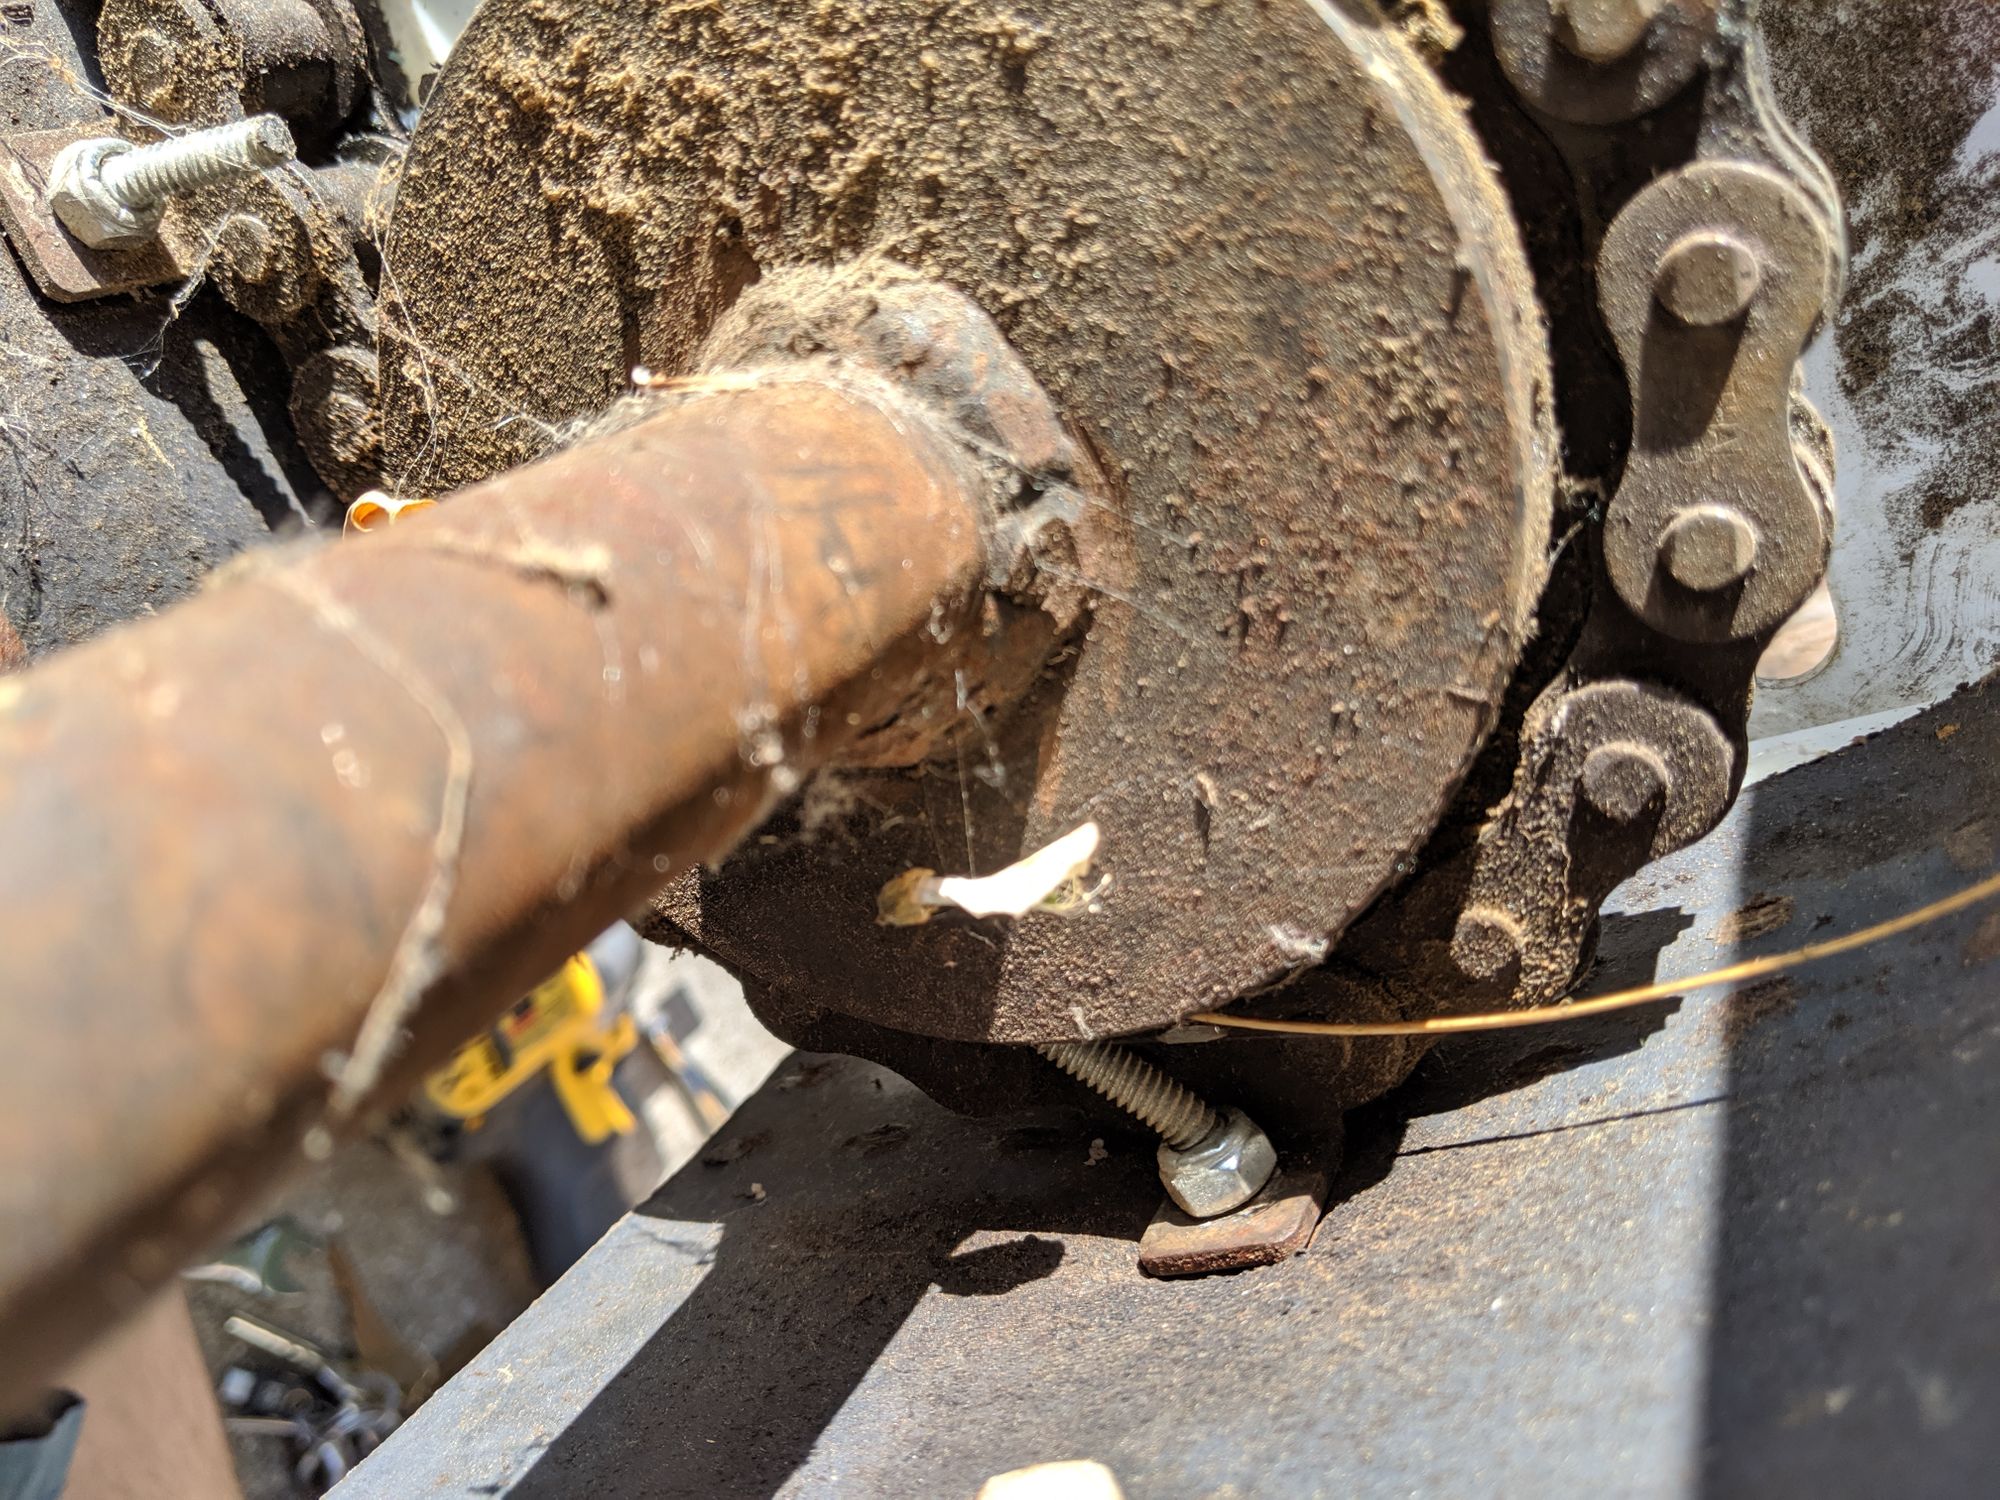
So after it was dropped off it became obvious it had a lot of problems with it. It was extremely rusted as it was stored outside for an extended period of time and the wall was not designed to be outside. I did a lot of rust removal but there will come a time where corrosion will win against me on this but for now, it's hanging in there! Maybe I'll feel extra motivate one day and take an angle grinder to it and clean it all the way up.
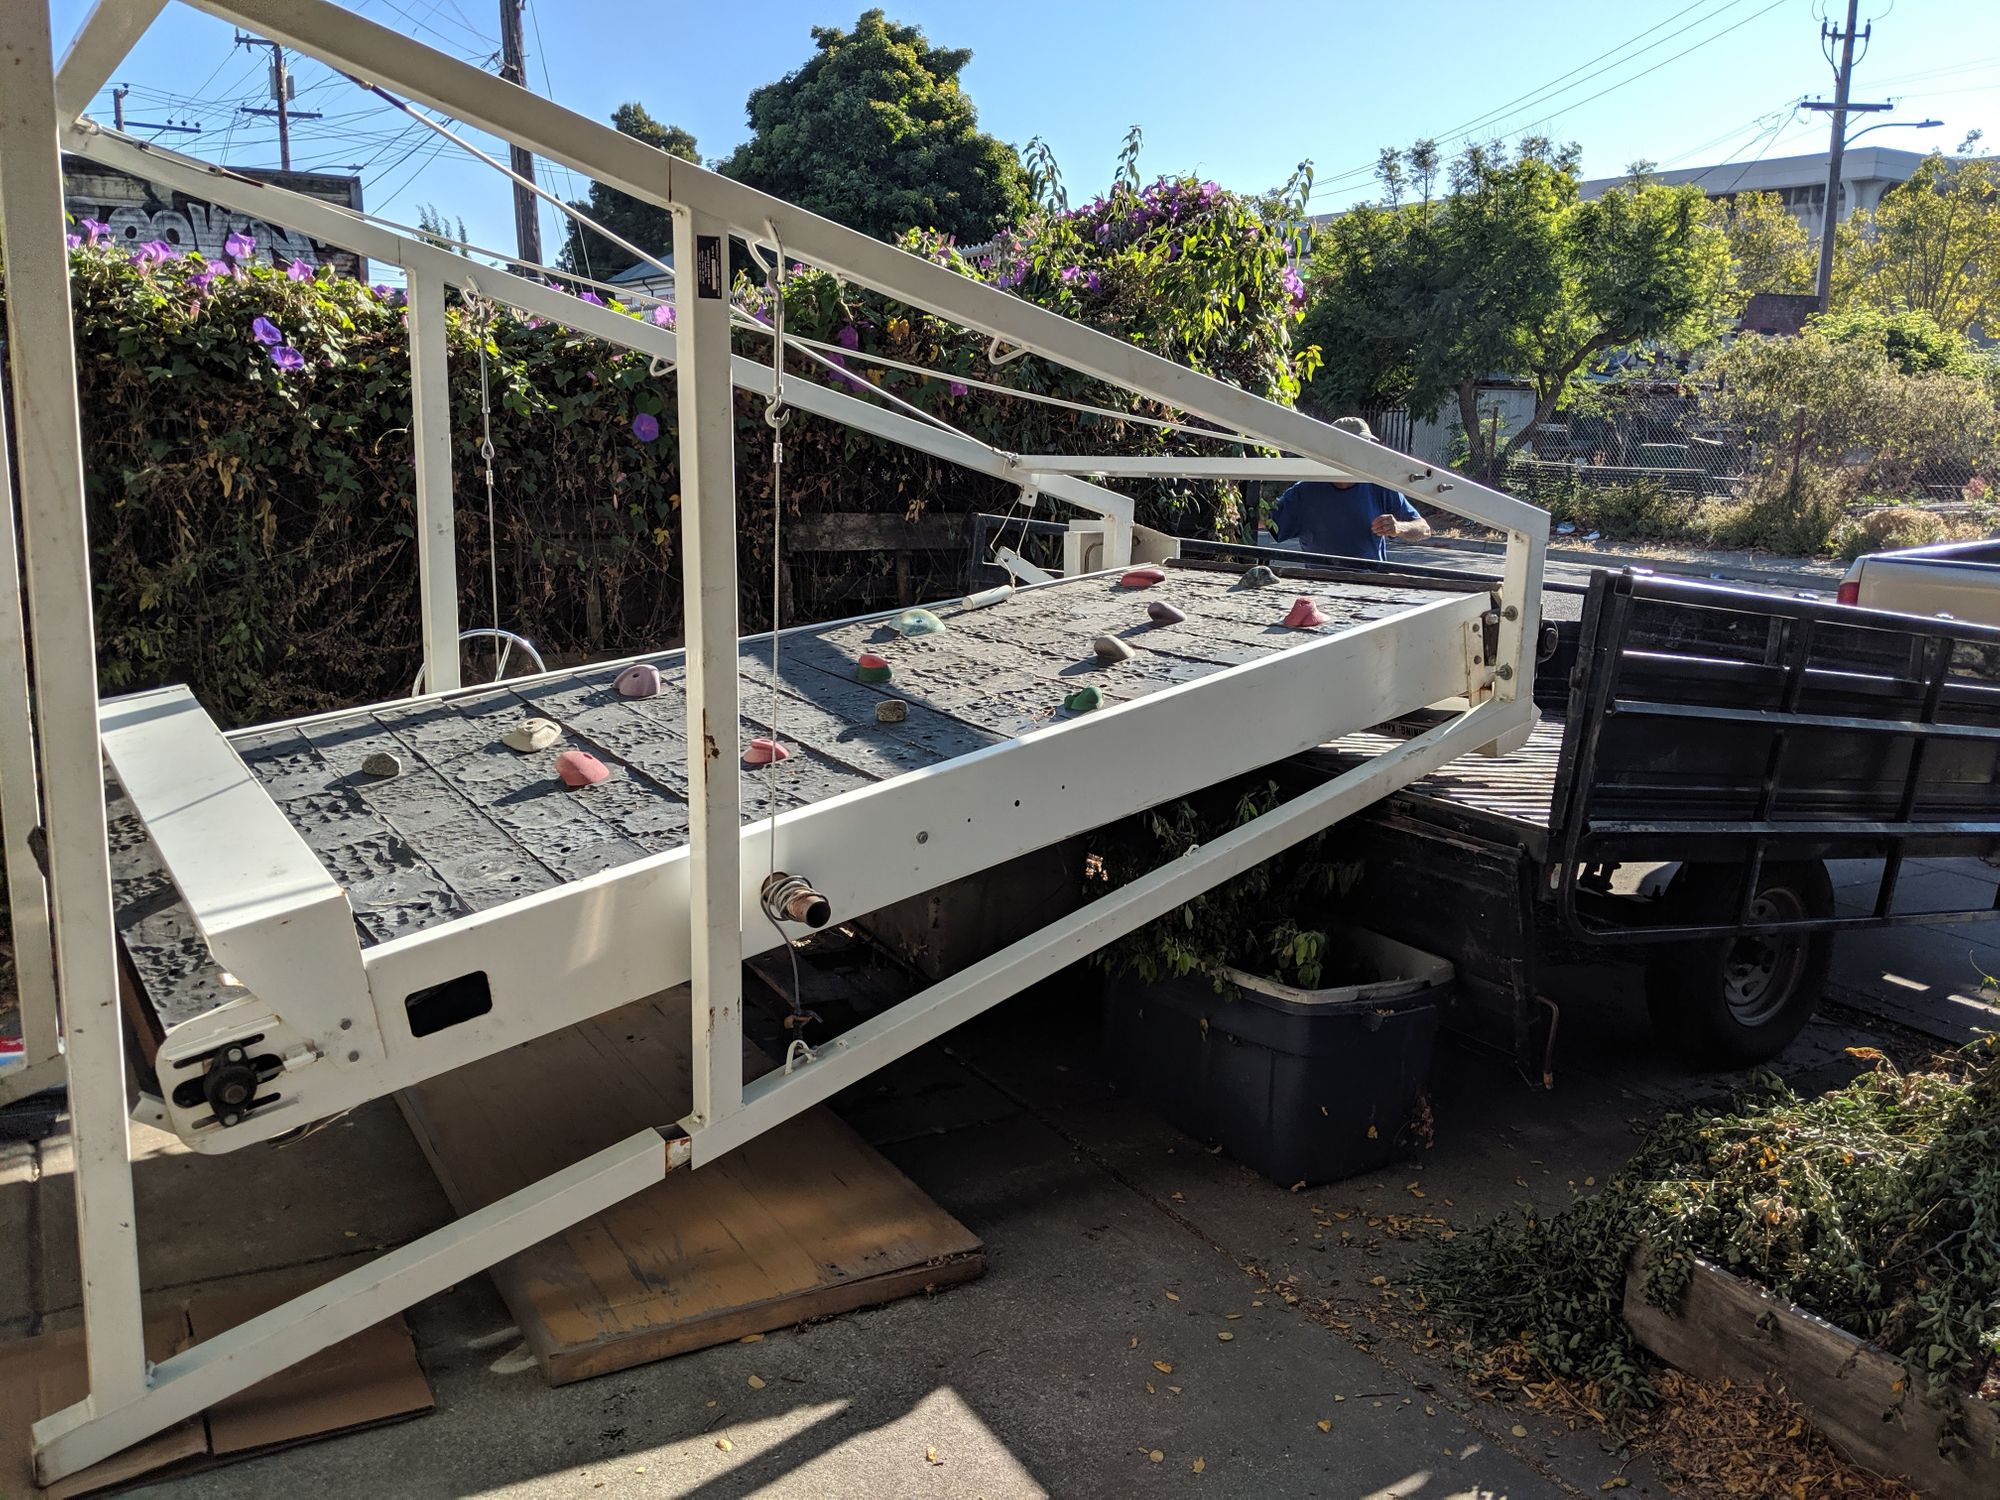
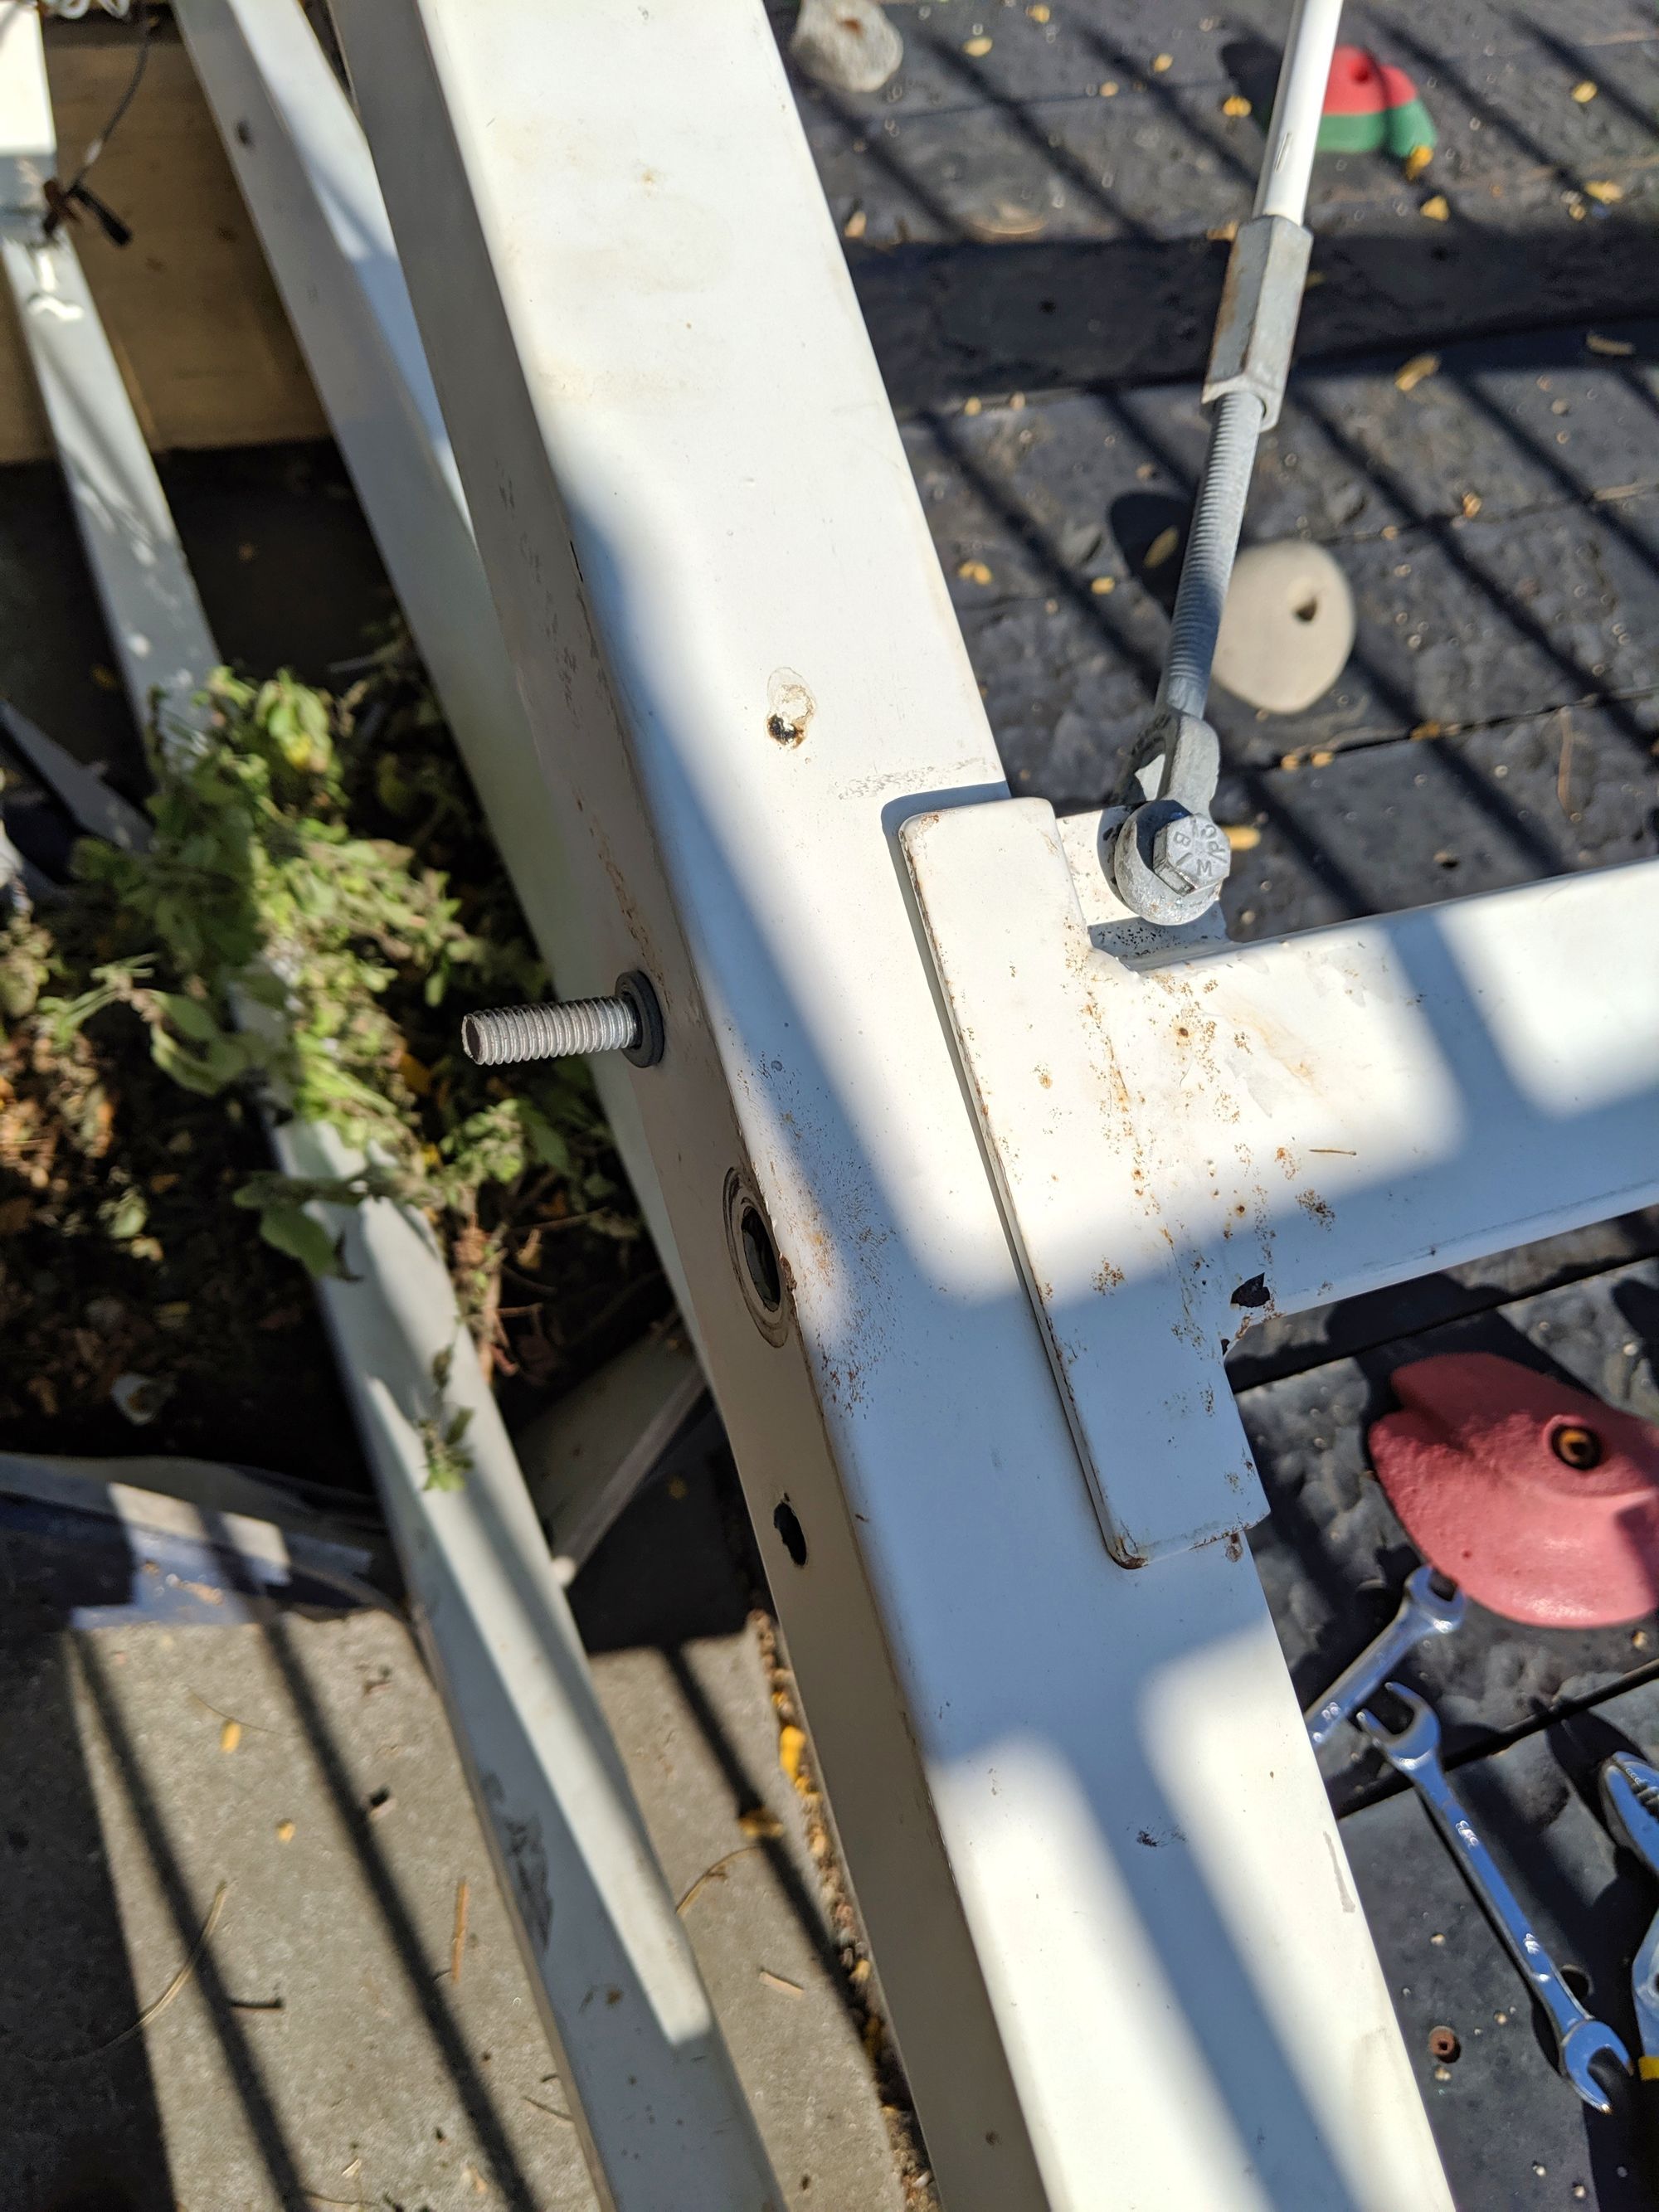
There were bolts that were rusted out and improvised secondary holes from bolts that sheared off in the original holes. Kind of a gunk show but it did manage to hold itself together so I was holding out hope I could work with what was left.
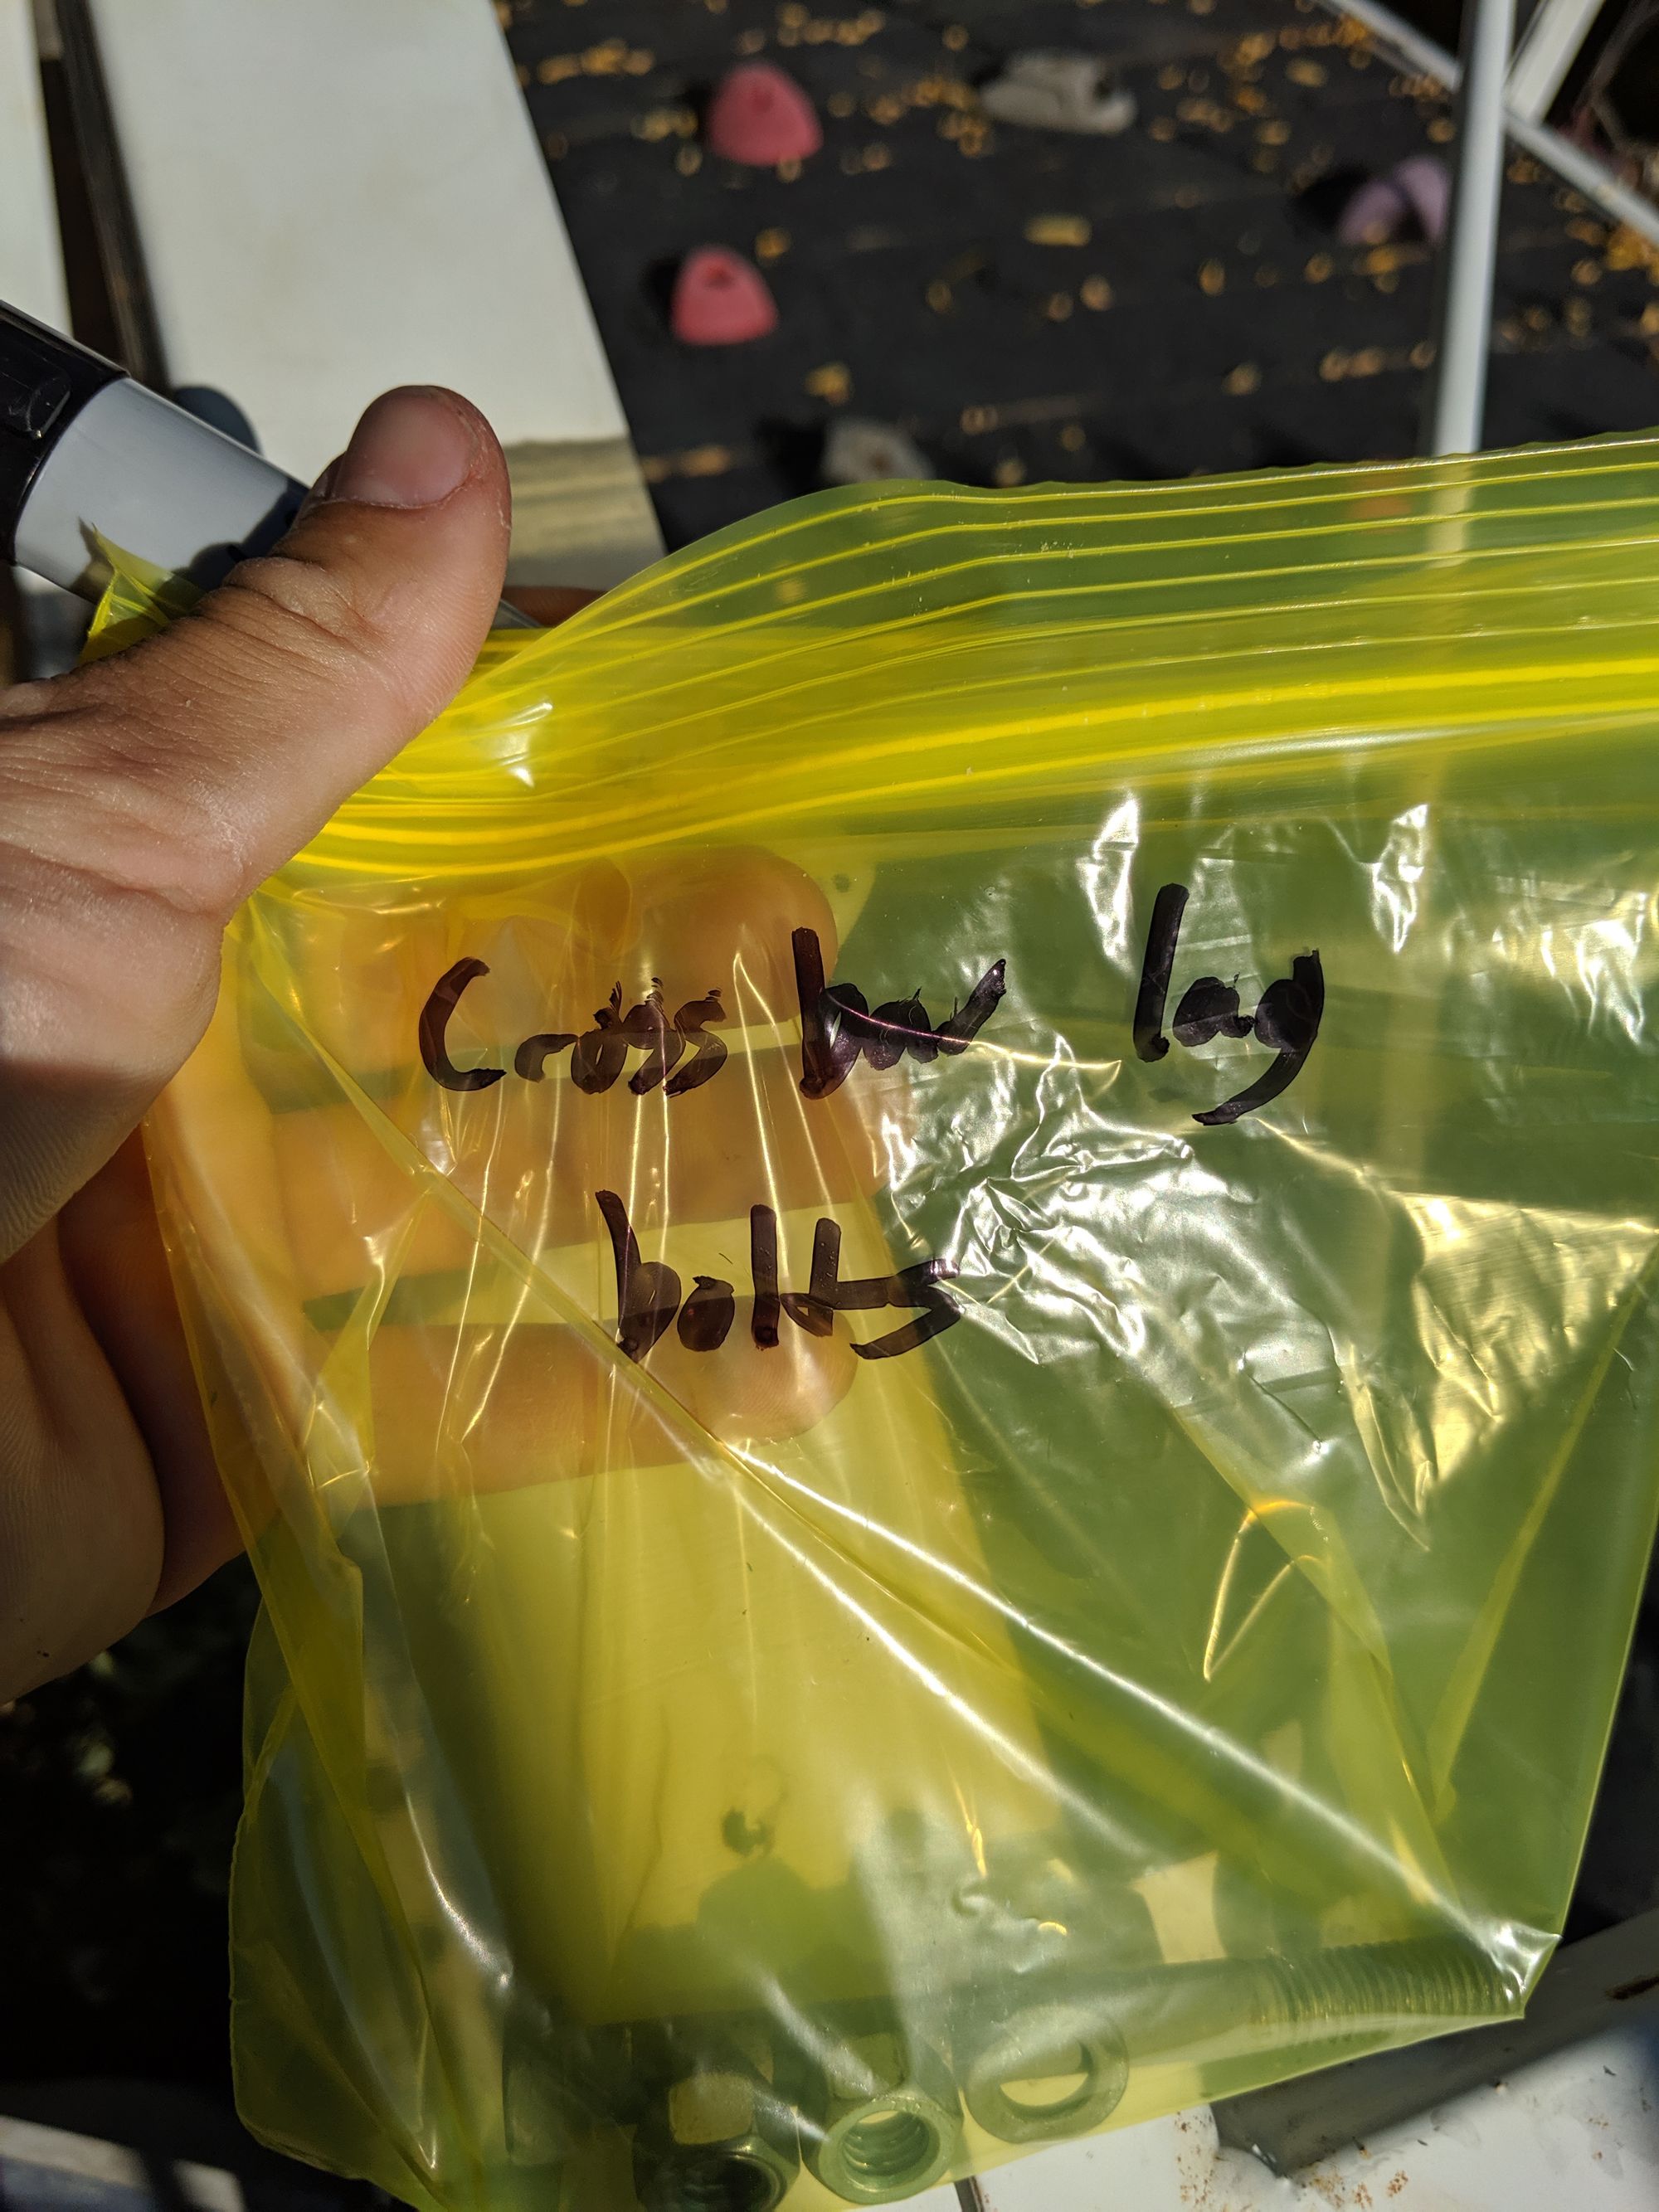
This thing weighs a literal ton if not more. Unclear on that but each piece is significant and difficult to move as a single human. I'm thankful that I had the help of a bunch of rad humans throughout the process who were willing to hold for me and lift things with me. So even if we could move it all to the back yard in one piece (which we couldn't) there was no way it was happening as a single unit. So I began the long process of taking it apart piece by piece. Which meant storing all the bolts in labeled baggies so I didn't forget how to put it back together again.
Which I had then run into issues with some of the bolts in the panels being in correct and getting caught on the gears. I'm guessing they gave up on the treadwall actually functioning as a treadwall and were using it as a stationary wall which is absurd because this thing is such a beast and the narrow wall is kind of garbage for setting real climbing problems on. It would be cheaper and lighter to build a much large wooden structure to set bouldering problems on.
First I had to remove the legs. Which required a impact mallet which I had to buy. Thankfully Cathy suggested that and it worked like a charm. Have used it for other things since then.

I put the center panels on blocks.
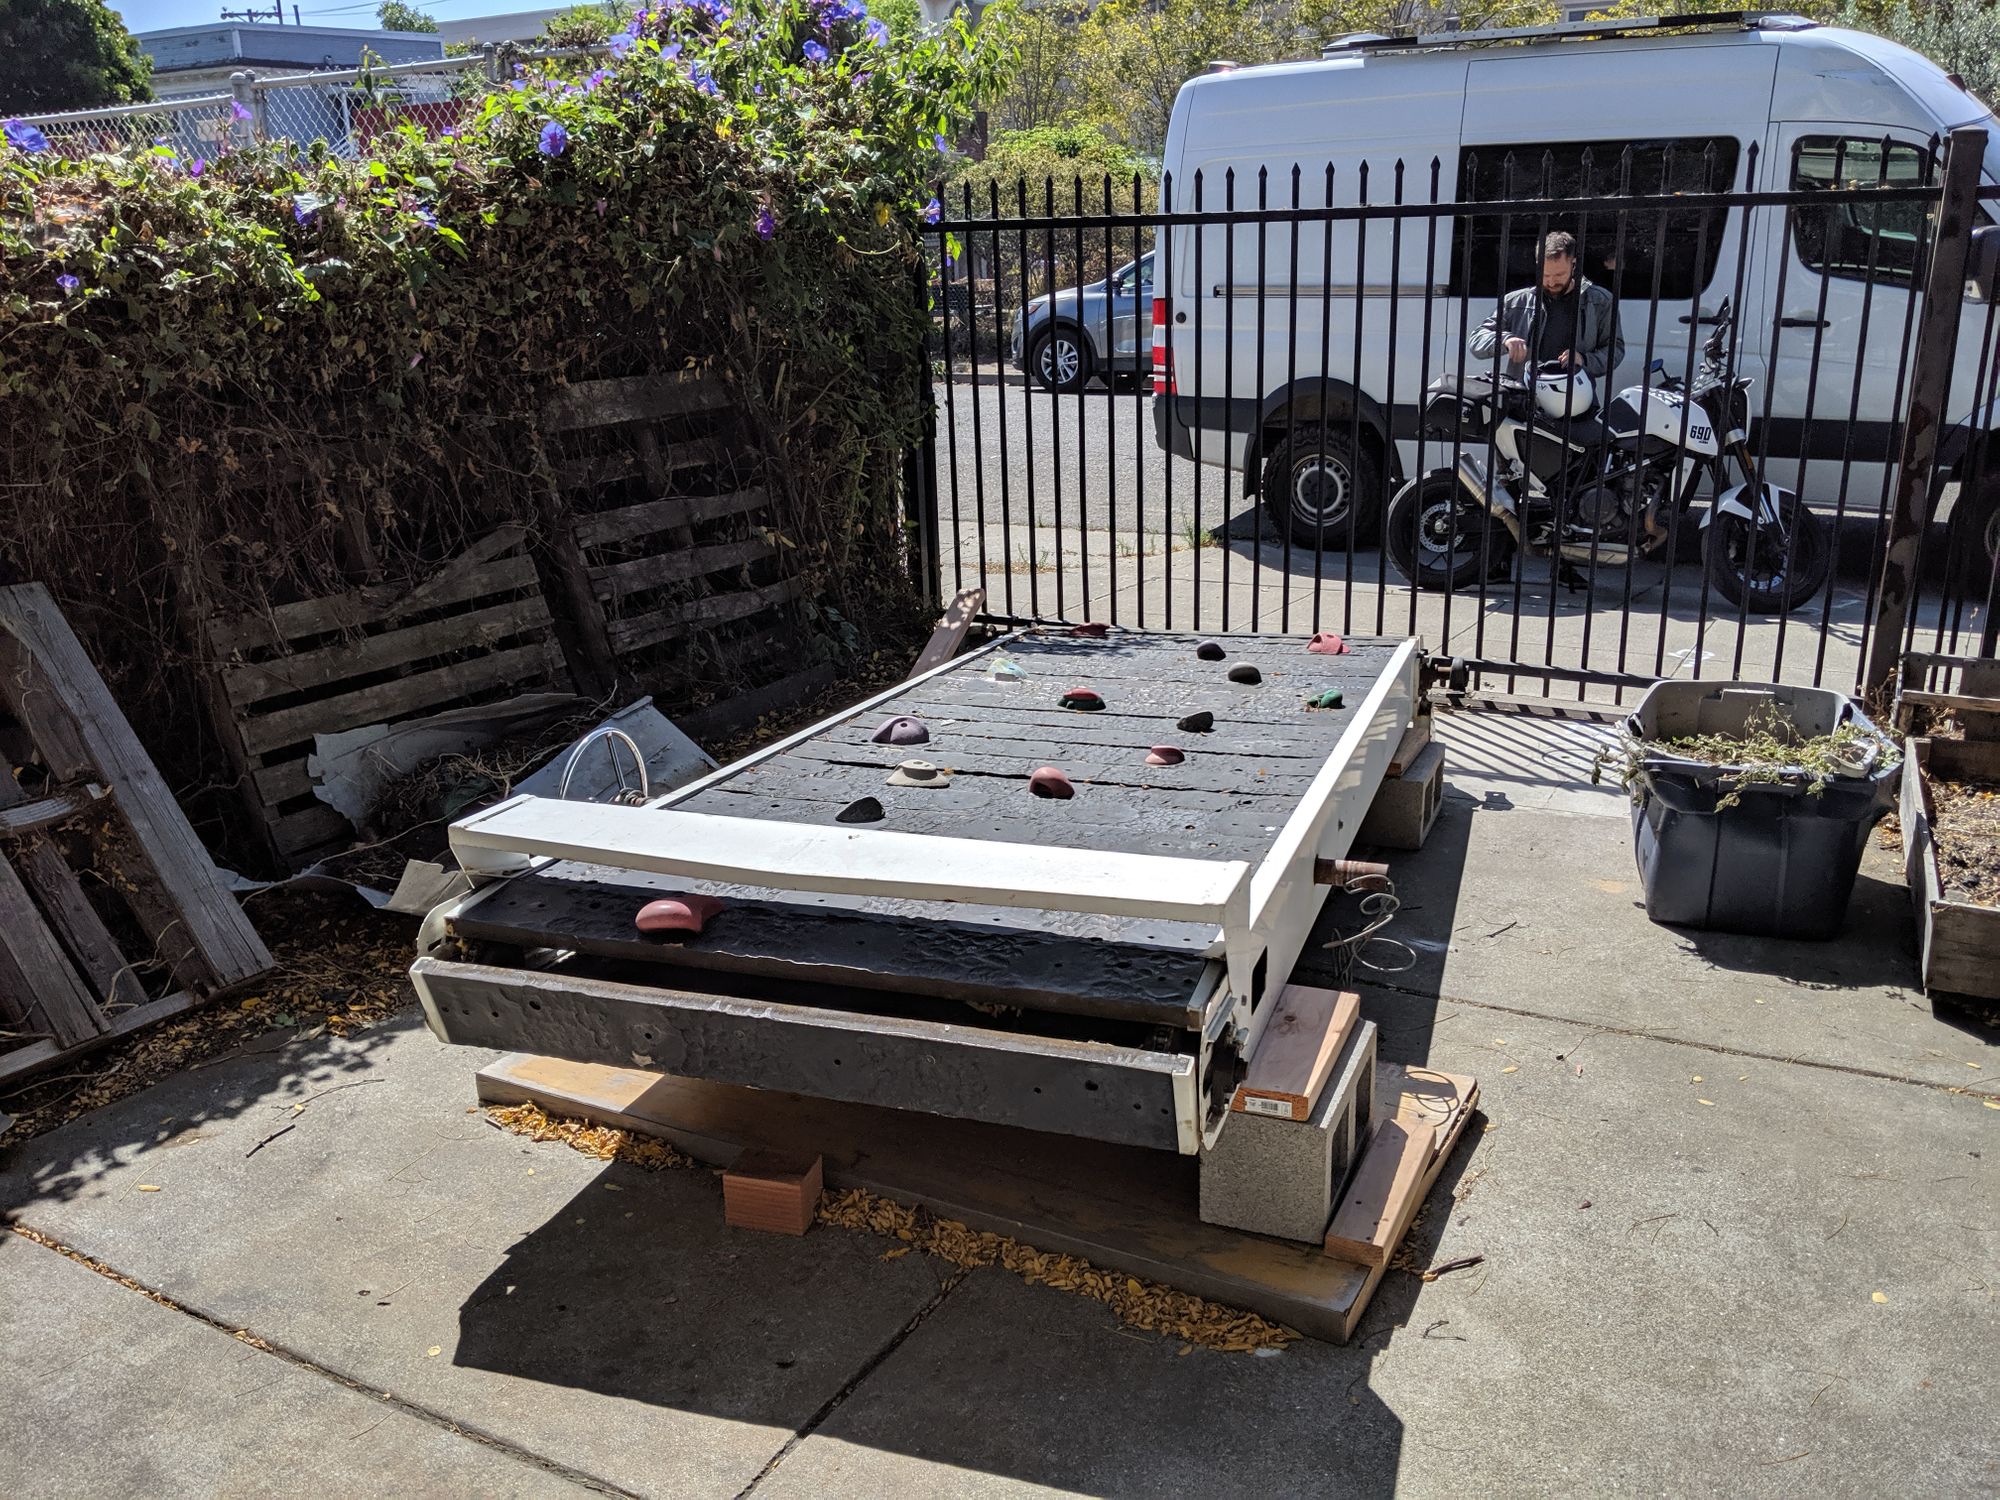
Putting the panels on blocks allowed me to remove each panel individually and salvage the white plastic bumpers off the rotting original panels. I had a plan to replace all the panels with hand fashioned hard maple panels. I decided to go with maple due to its tolerance to being outdoors and its relative stiffness. The awning I built over the treadwall would keep it mostly dry. Though a friendly person from Brewer Fitness recommended getting some tarps to keep it really dry when it actually rains. Which thankfully is nearly never in the bay area.
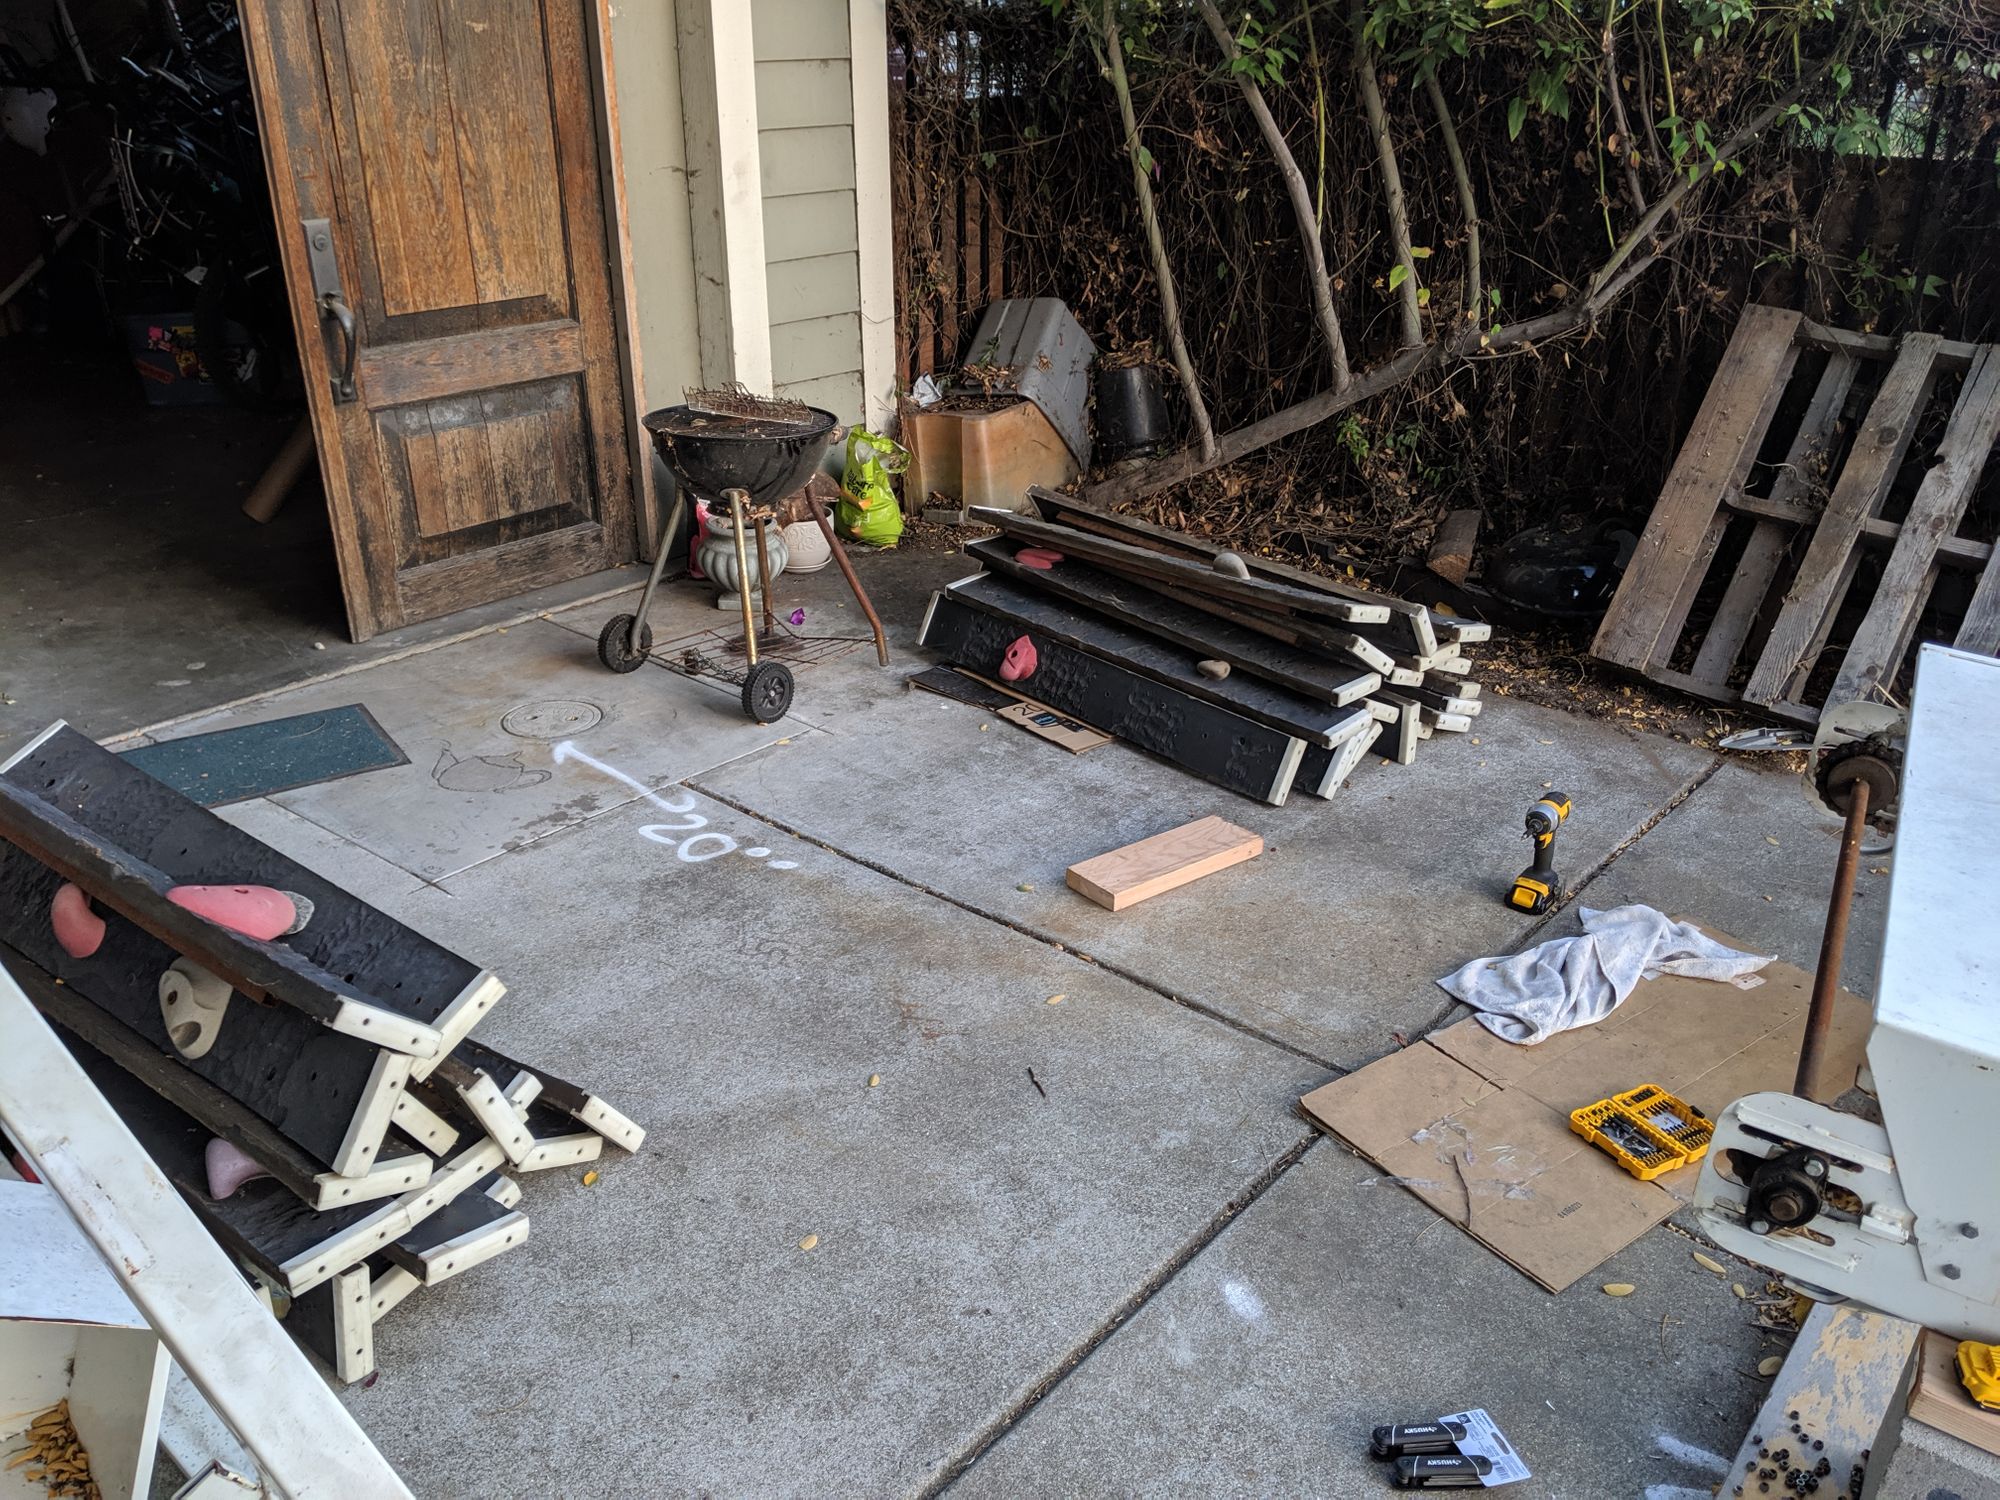
You can see the white plastic bumpers better when they're laying in a pile.
Some of the bolts that held the panels in place were not of the right length and it's clear that the treadwall never rotated after they were replaced as I started to remove the boards I ended up bending some of them that were originally straight.
There's another post that I had where I cover the side quest to revamp our dusty back yard to somewhere one would actually want to use a treadwall.
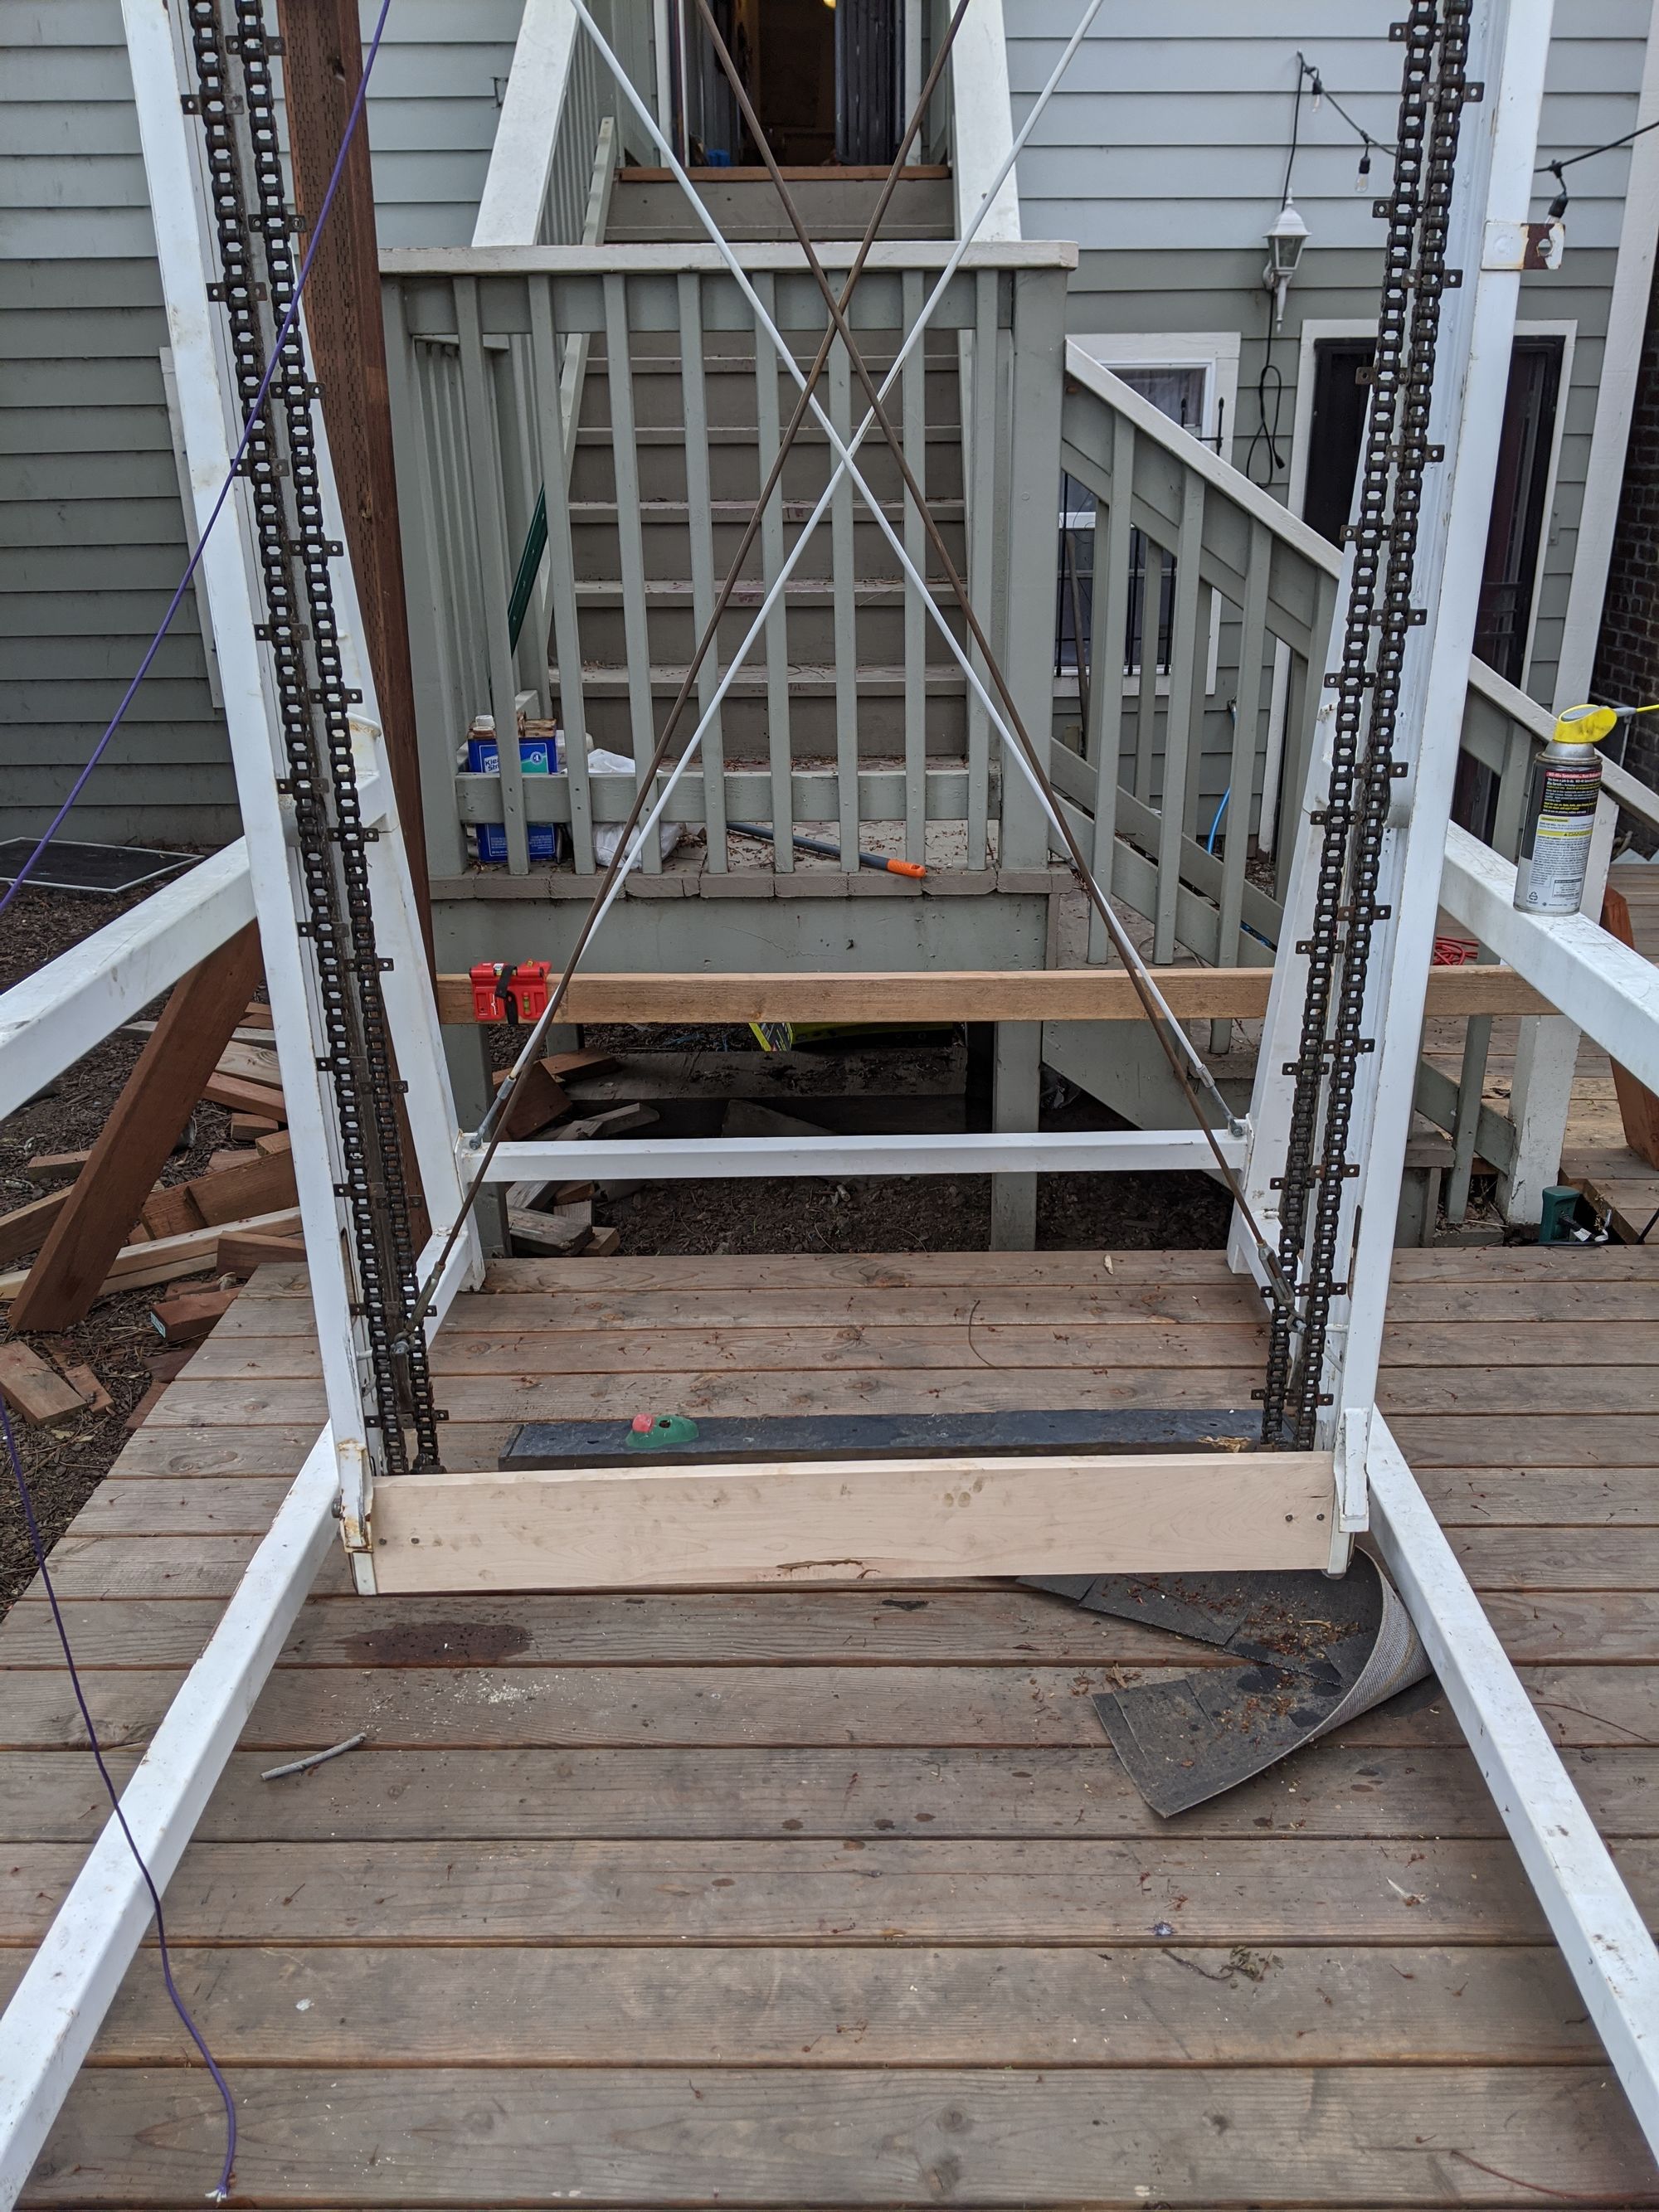
So after that side quest we eventually moved all the parts into the back yard and re-assembled the frame. Once I had the frame up and working I checked to make sure the chains actually moved still and the hydraulics actually made sense (H/T to Estee for helping me on that one). Thankfully Estee was able to figure out the hydraulics and we re-threaded the tangled safety line. Was grateful that I could replace it with some paracord of my favorite color.

I'd later find out that there were schematics on the Brewer Fitness website. There's some pretty choice images in this one. I suggest you take a read of it here it's very entertaining.
With the hydraulics working it was time to start in on creating forty identical replacement boards out of 1000 dollars worth of hardwood maple I got from MacBeth Hardwood. Thankfully the planed the boards to my requested thickness within that 1000 dollars. There were 5 extra boards in my order which I don't recall requesting but I bet I did just so if I messed things up I'd have some spares.
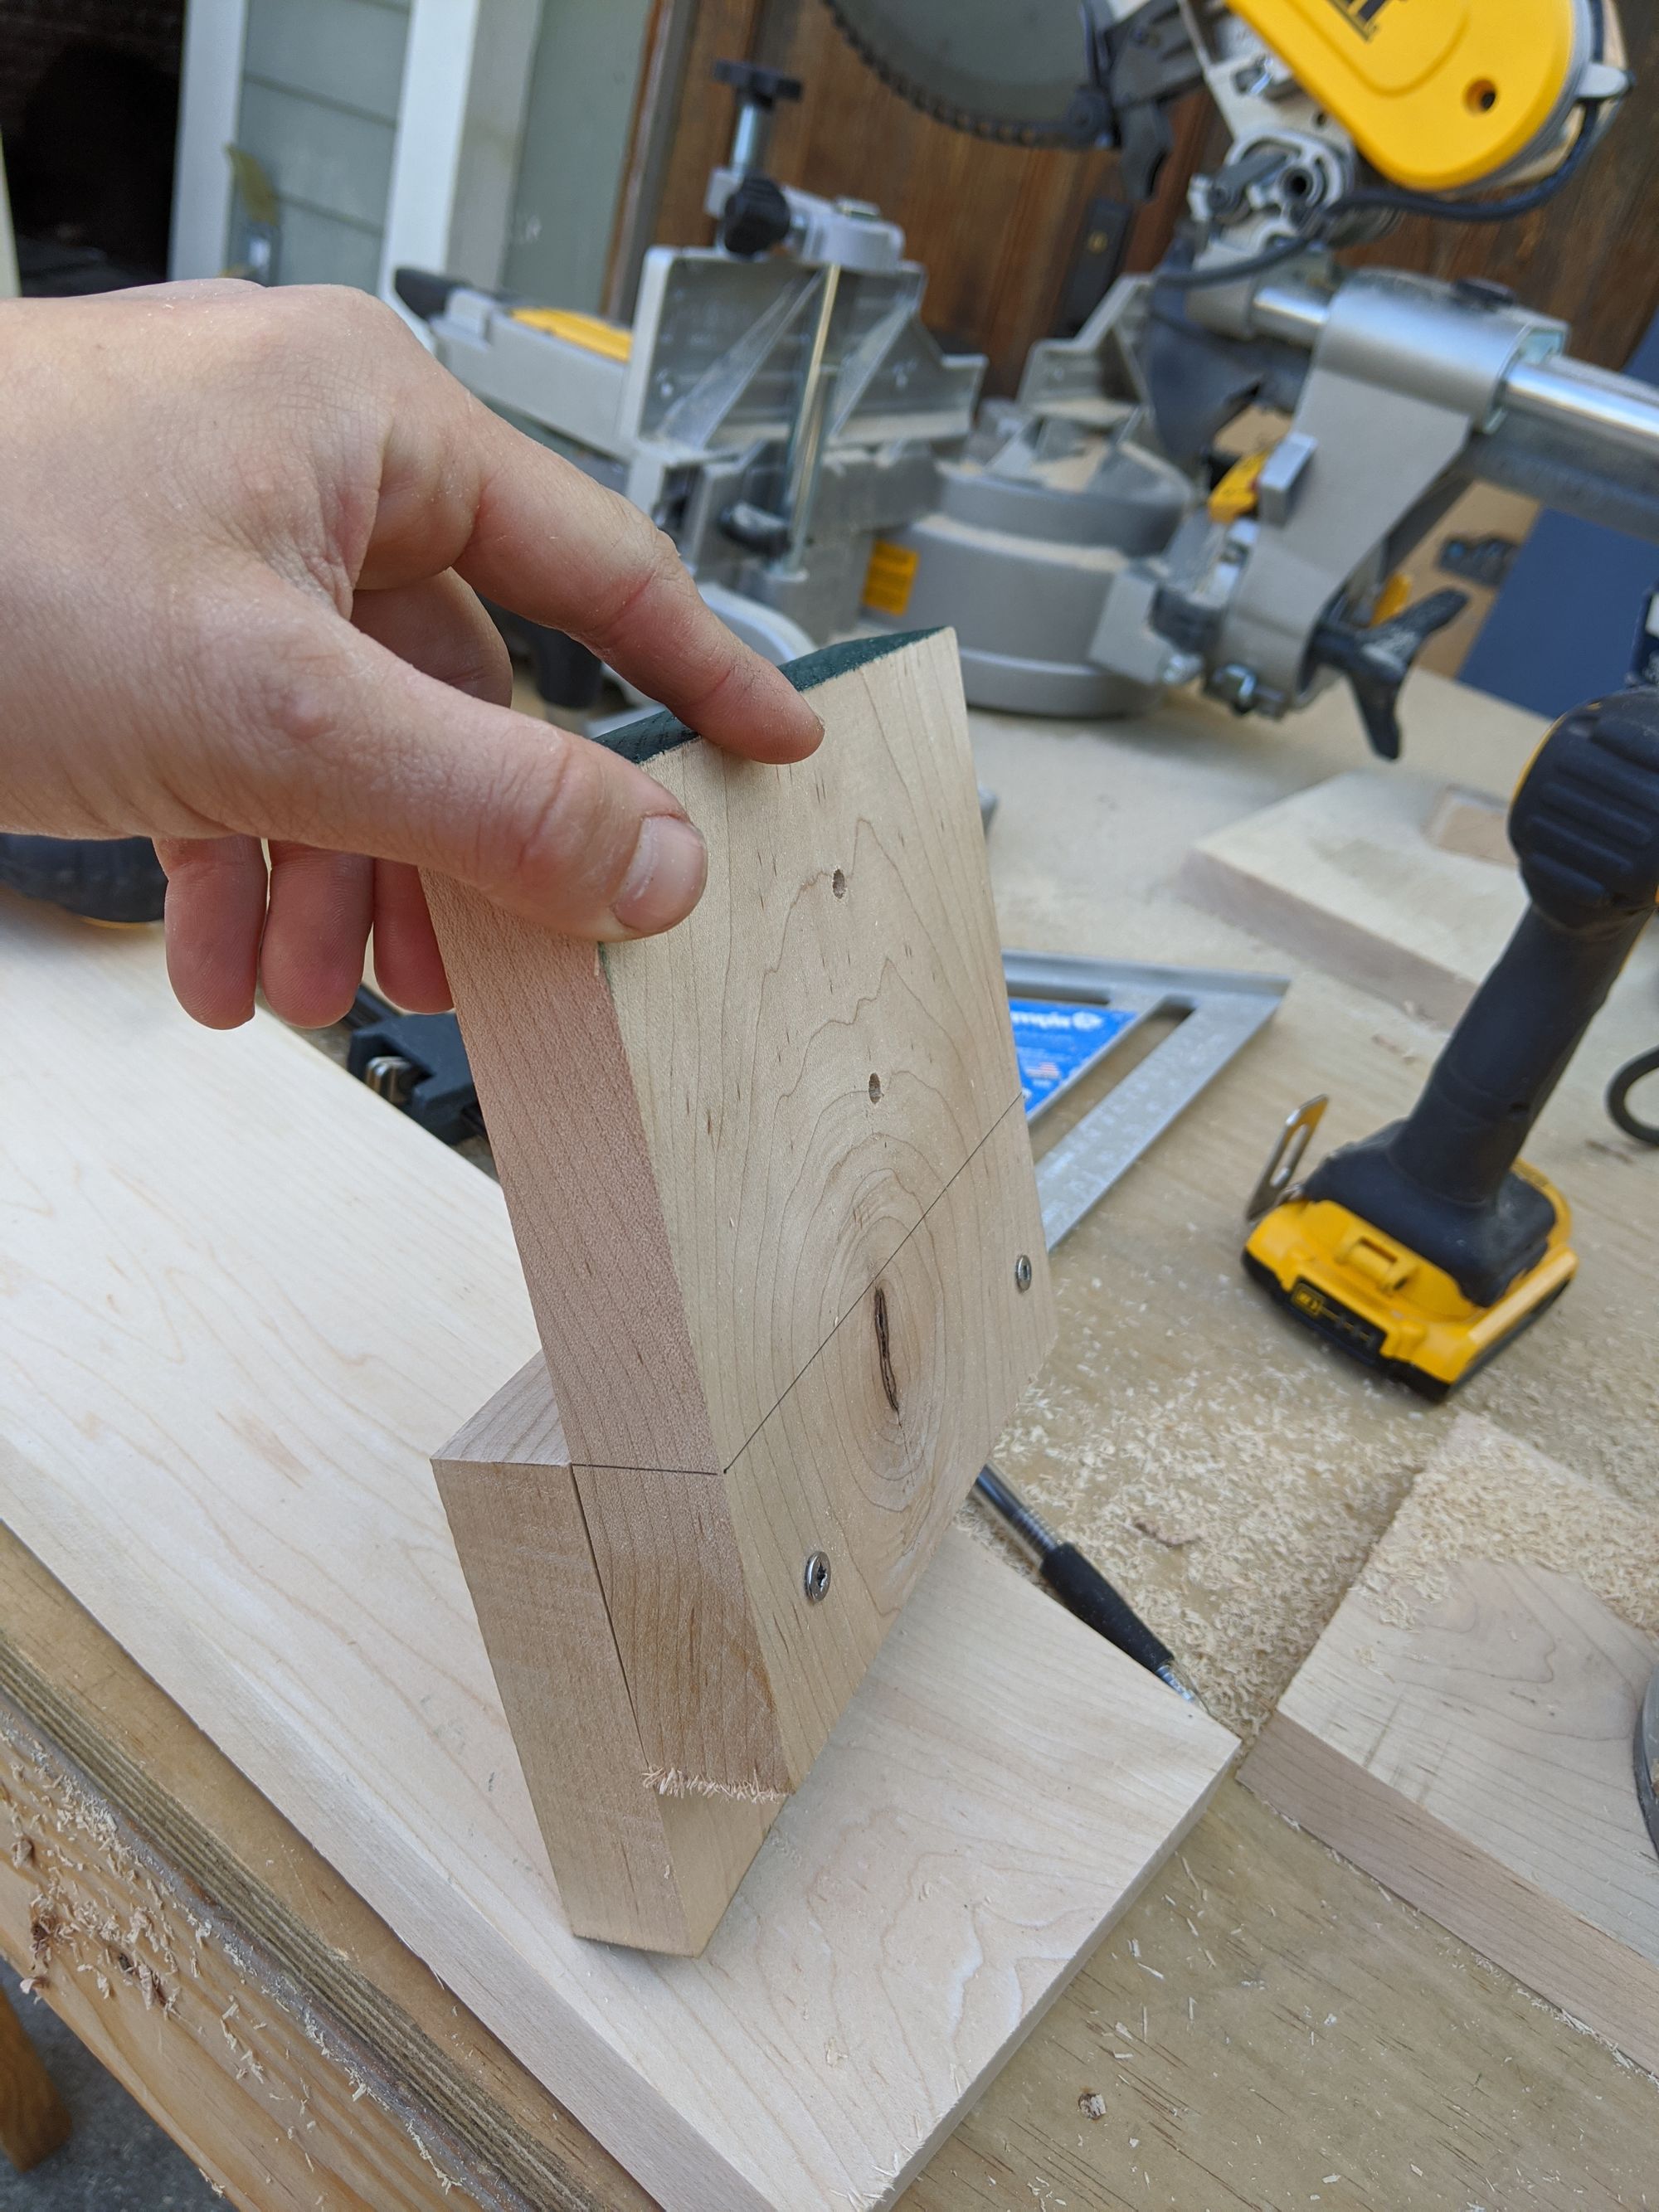
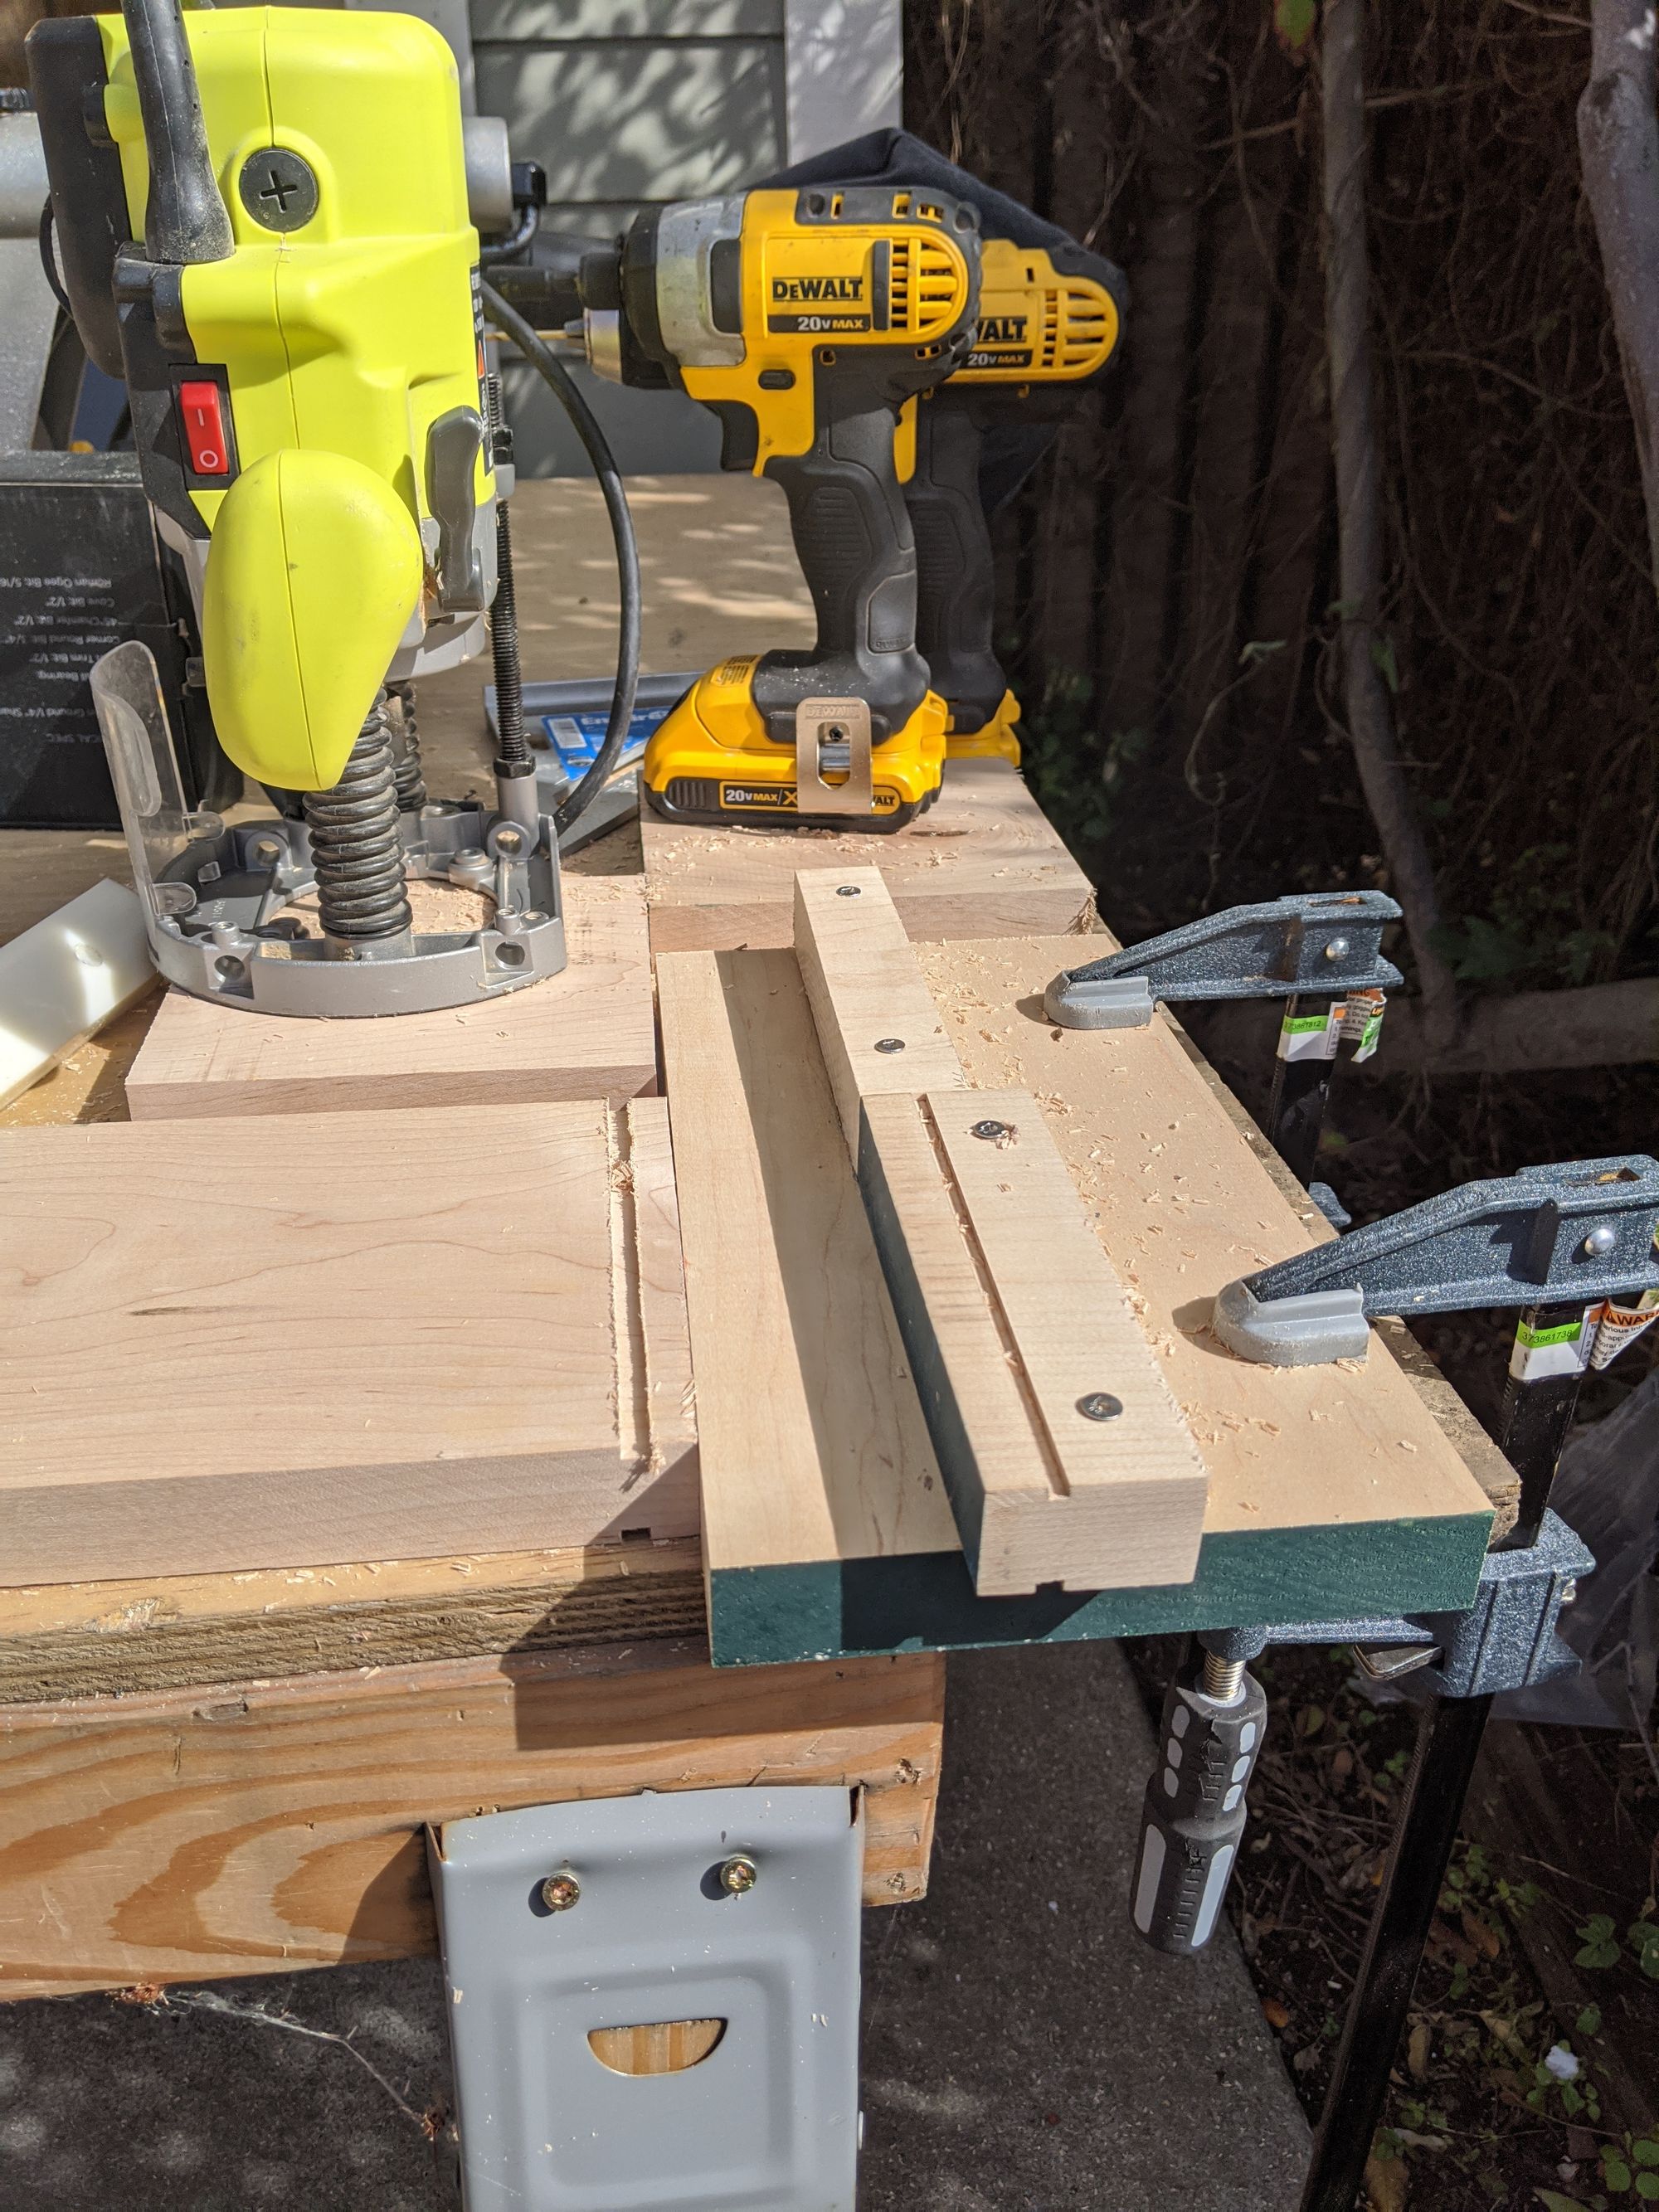
I first built a jig to route the channels the the little plastic end caps slide into. These protect the board from the metal and allow them to slide through the rig nicely as the wall rotates. Routers will always terrify me since they're always on but ended up being just fine.
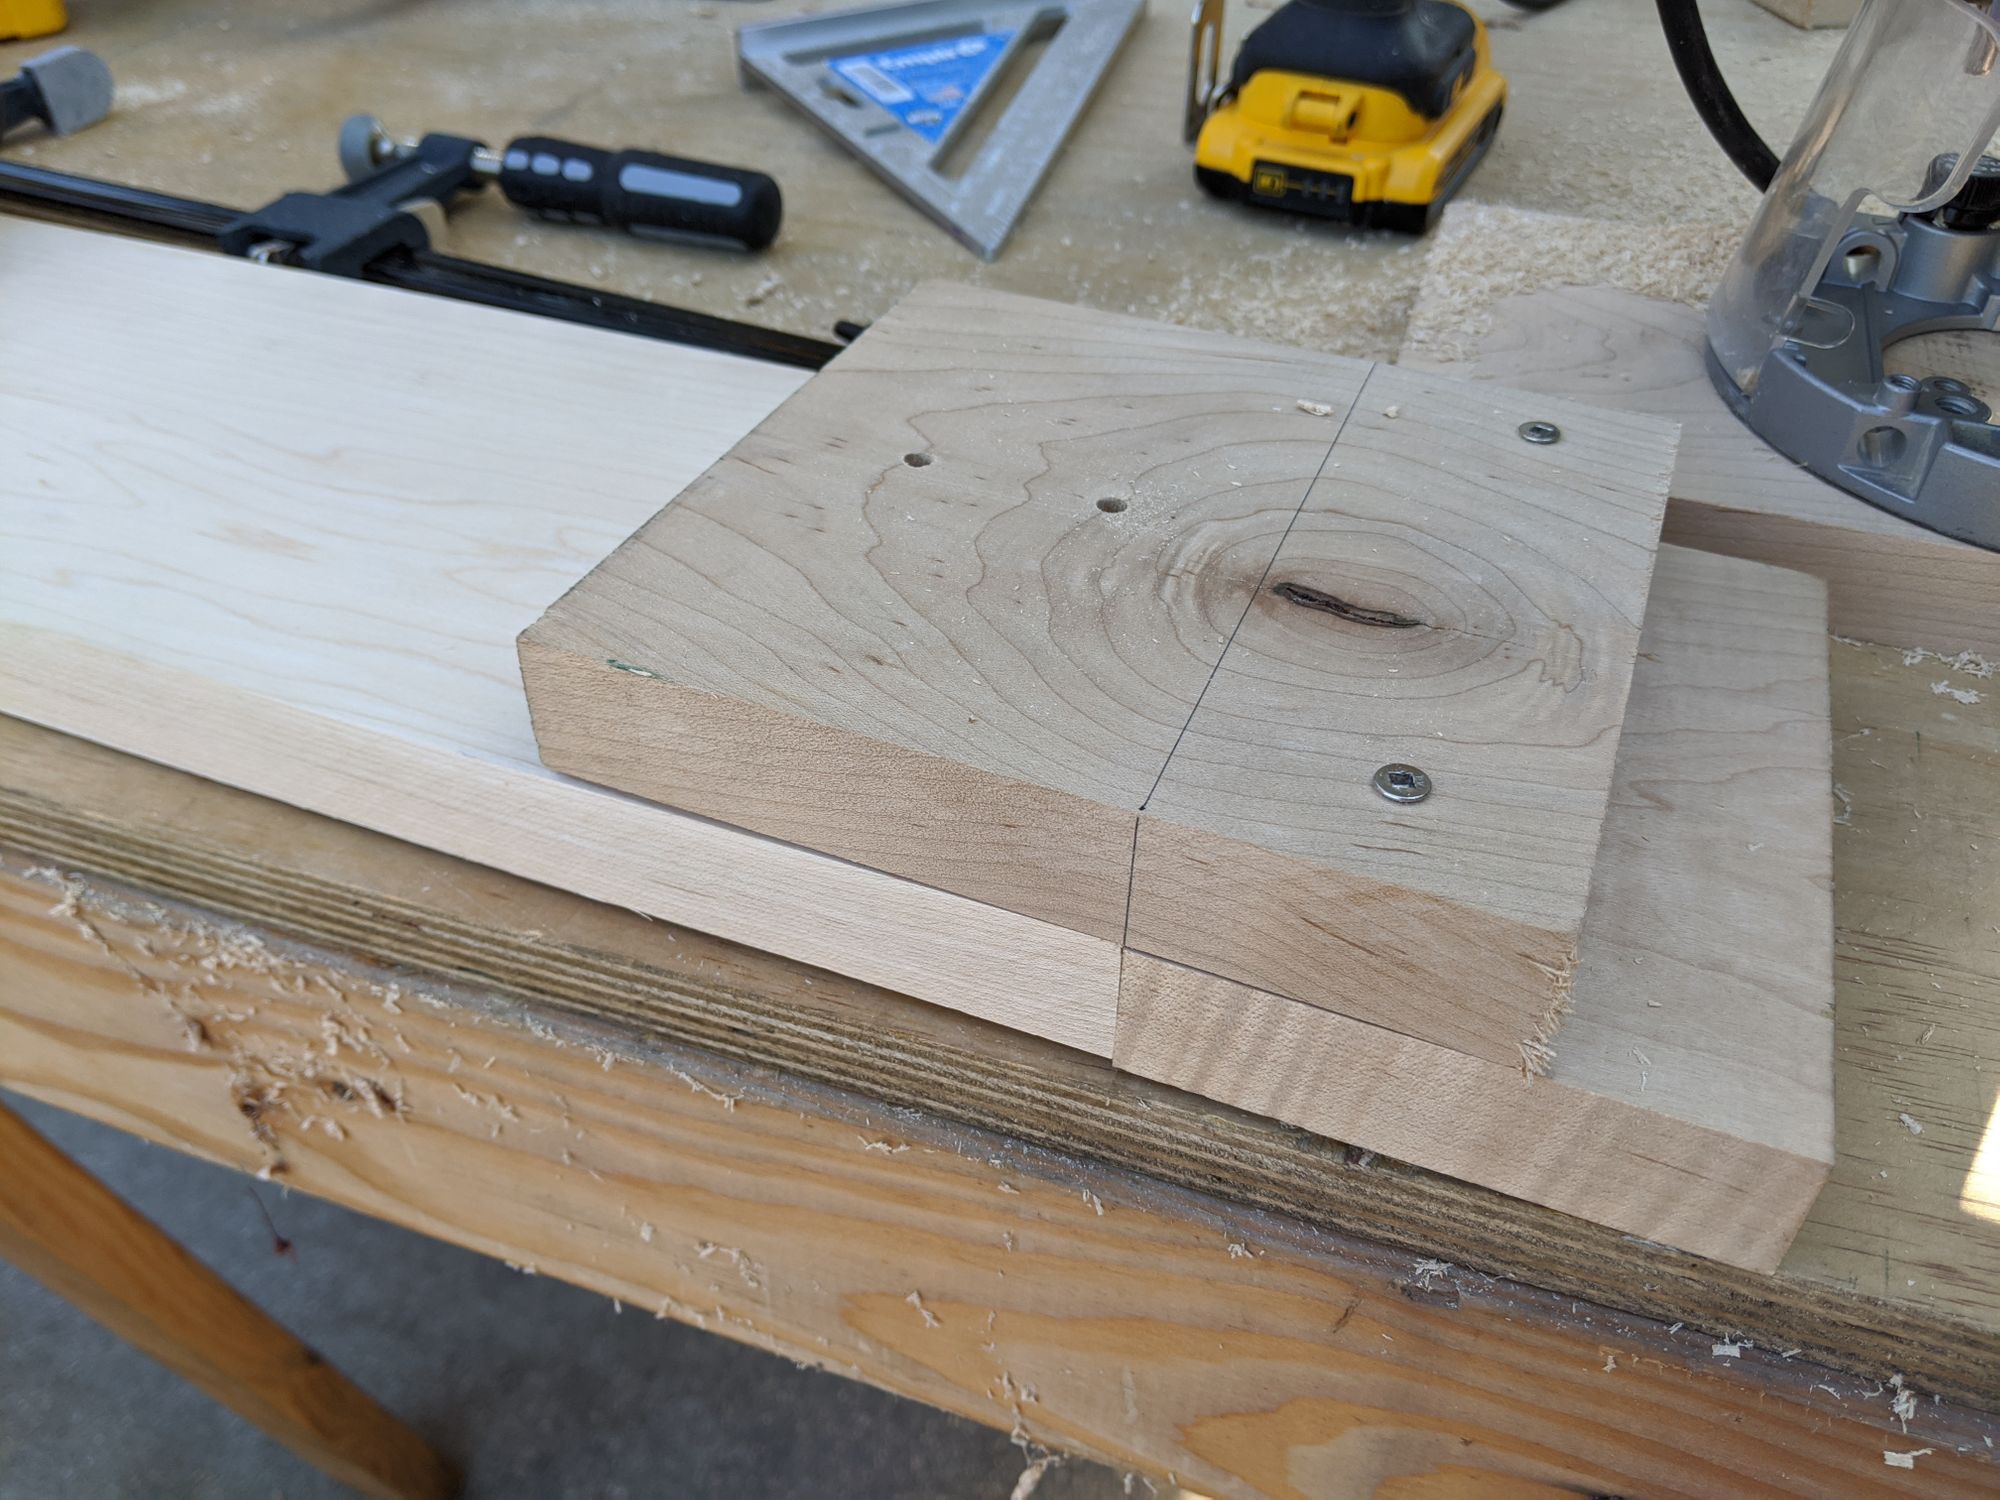
Then I needed to keep the mount points consistent. This also requires a jig as there isn't much tolerance here to be off by inches with these wholes. The chain need to be consistent width apart or the whole thing will grind to a halt and put unnecessary strain the chains.
Then in true software engineer fashion I put a single board on to send it through the system to make sure it was working as I had expected before continuing build all the other boards. This revealed that some of the tolerance mechanisms were rusted over. I cleaned them out with some rust release WD40 and flushed it out with garage door opener lubricant. One sprocket on the top and bottom of the treadwall are designed to slide to make up for slight difference in the width of the boards. This was comforting to know that I might be okay if I'm off by a little with cutting the boards.
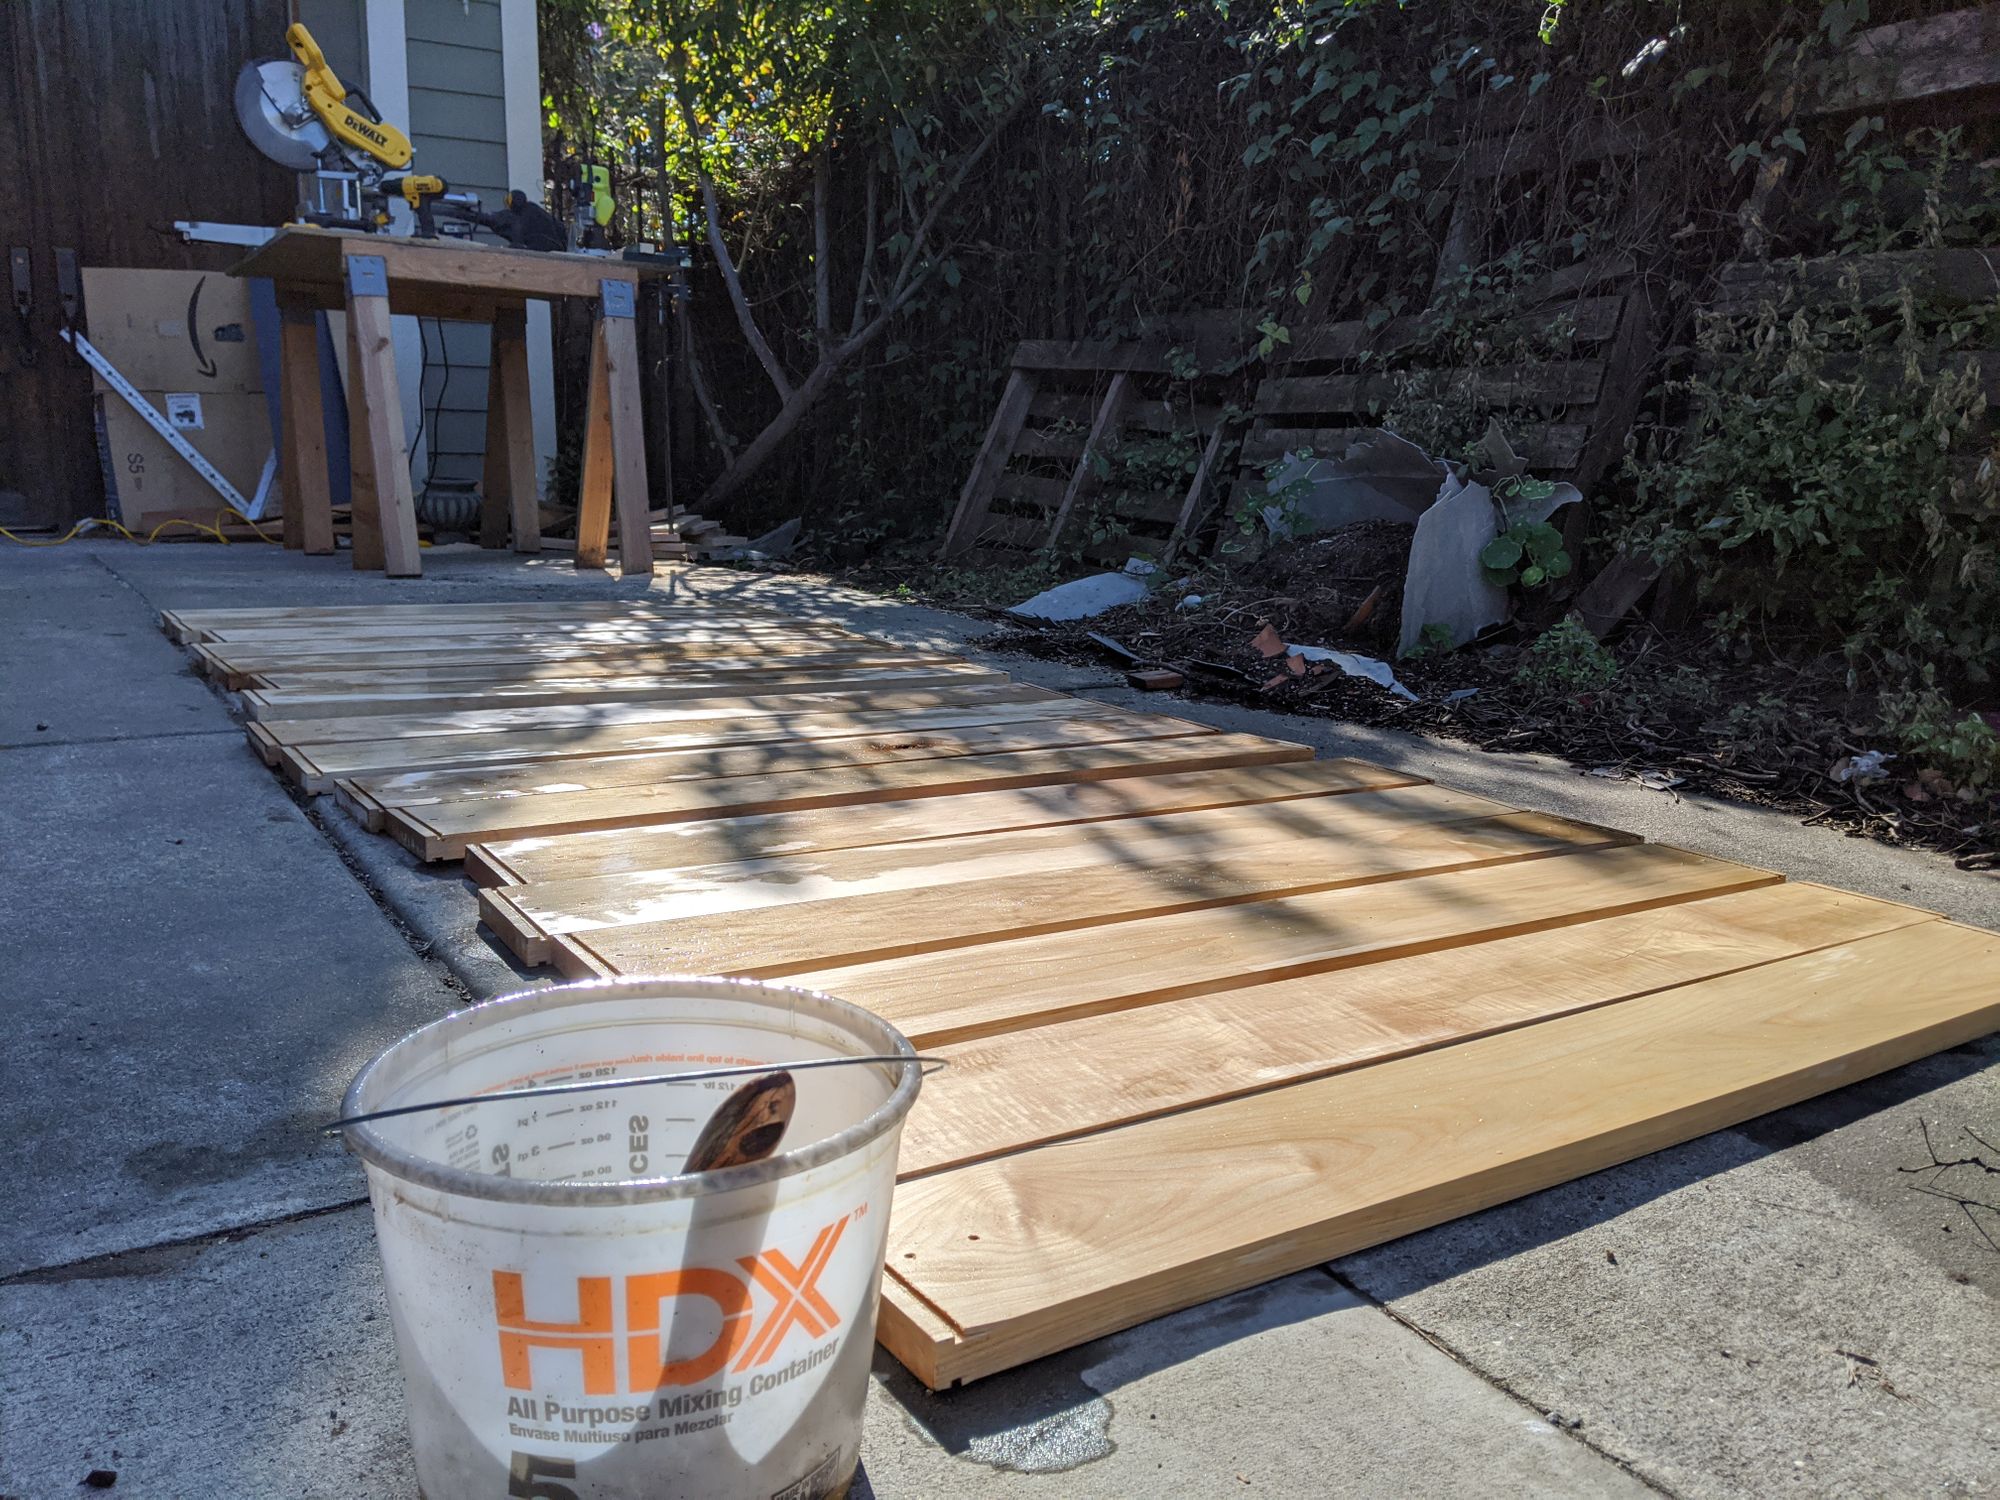
So then I spent nearly two days cutting and channeling all the boards.
Between making boards I would coat the finished boards with linseed oil to give them a bit of weather protection since they will ultimately be outside.
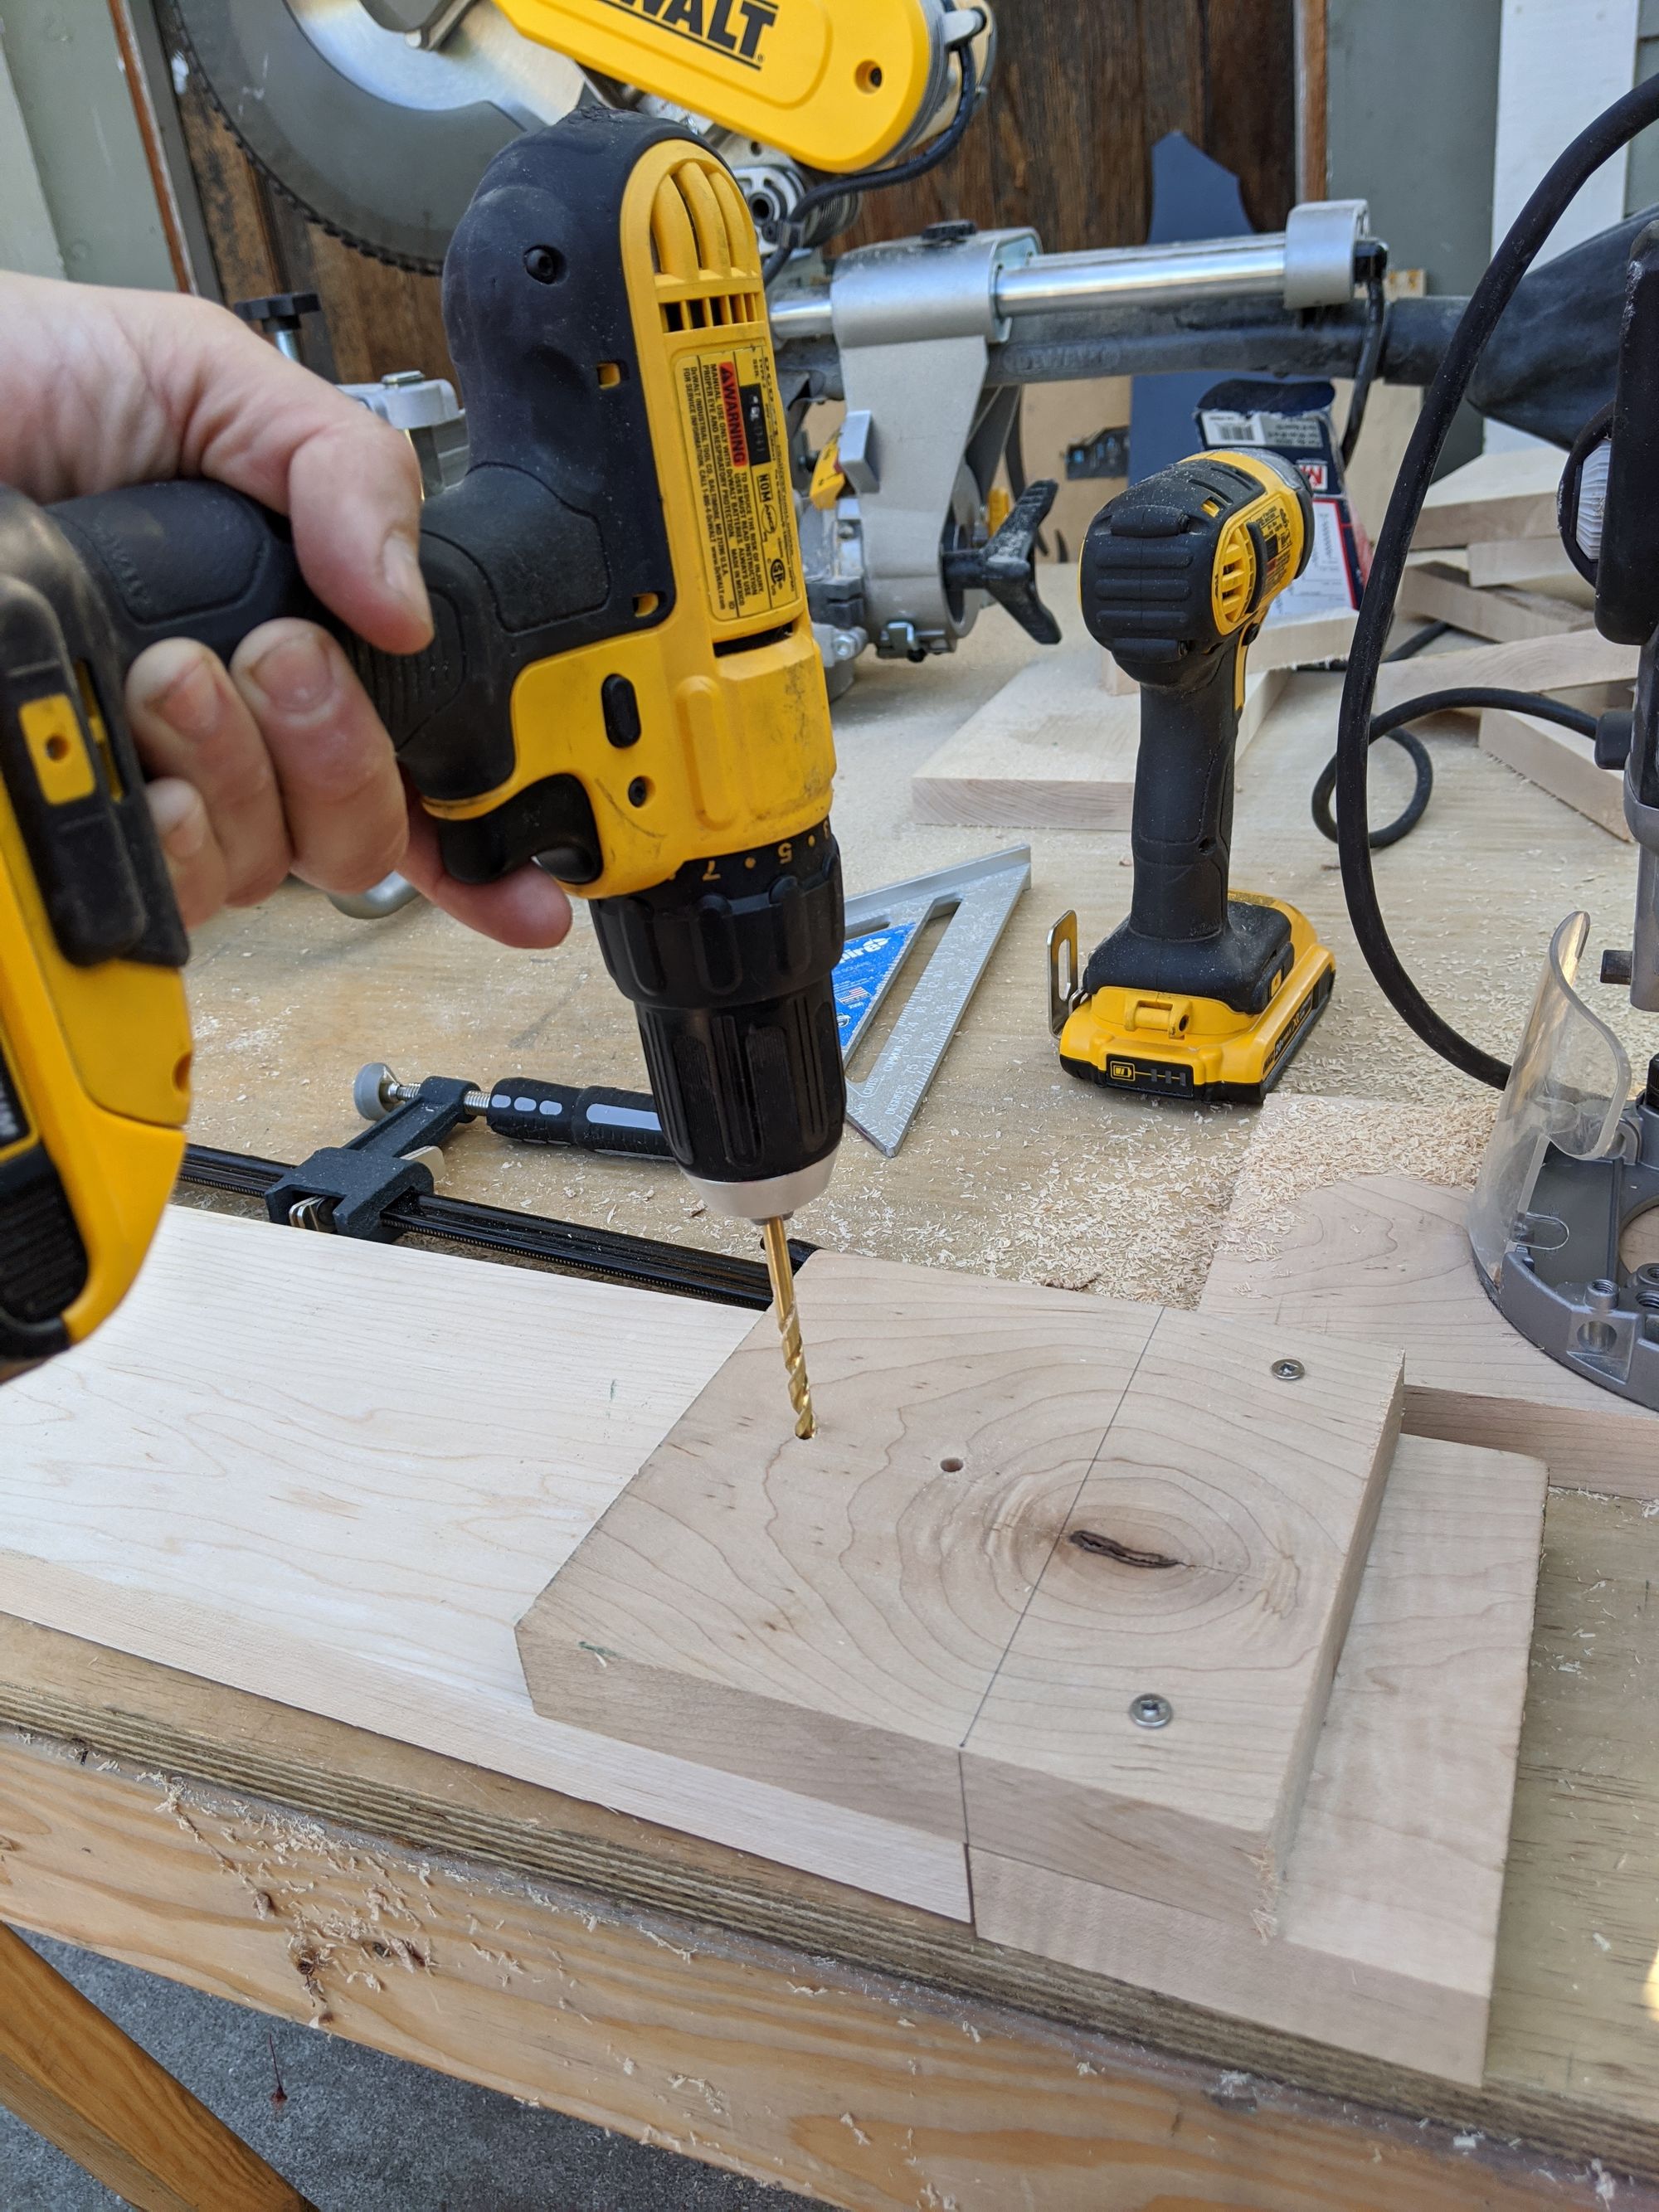
Then I recruited my roommates who had little to do once the internet went out and we were currently under shelter in place orders. We created an assembly line to drill bolt holes into the panels. This process only took about 4 hours. Many hands make light work!
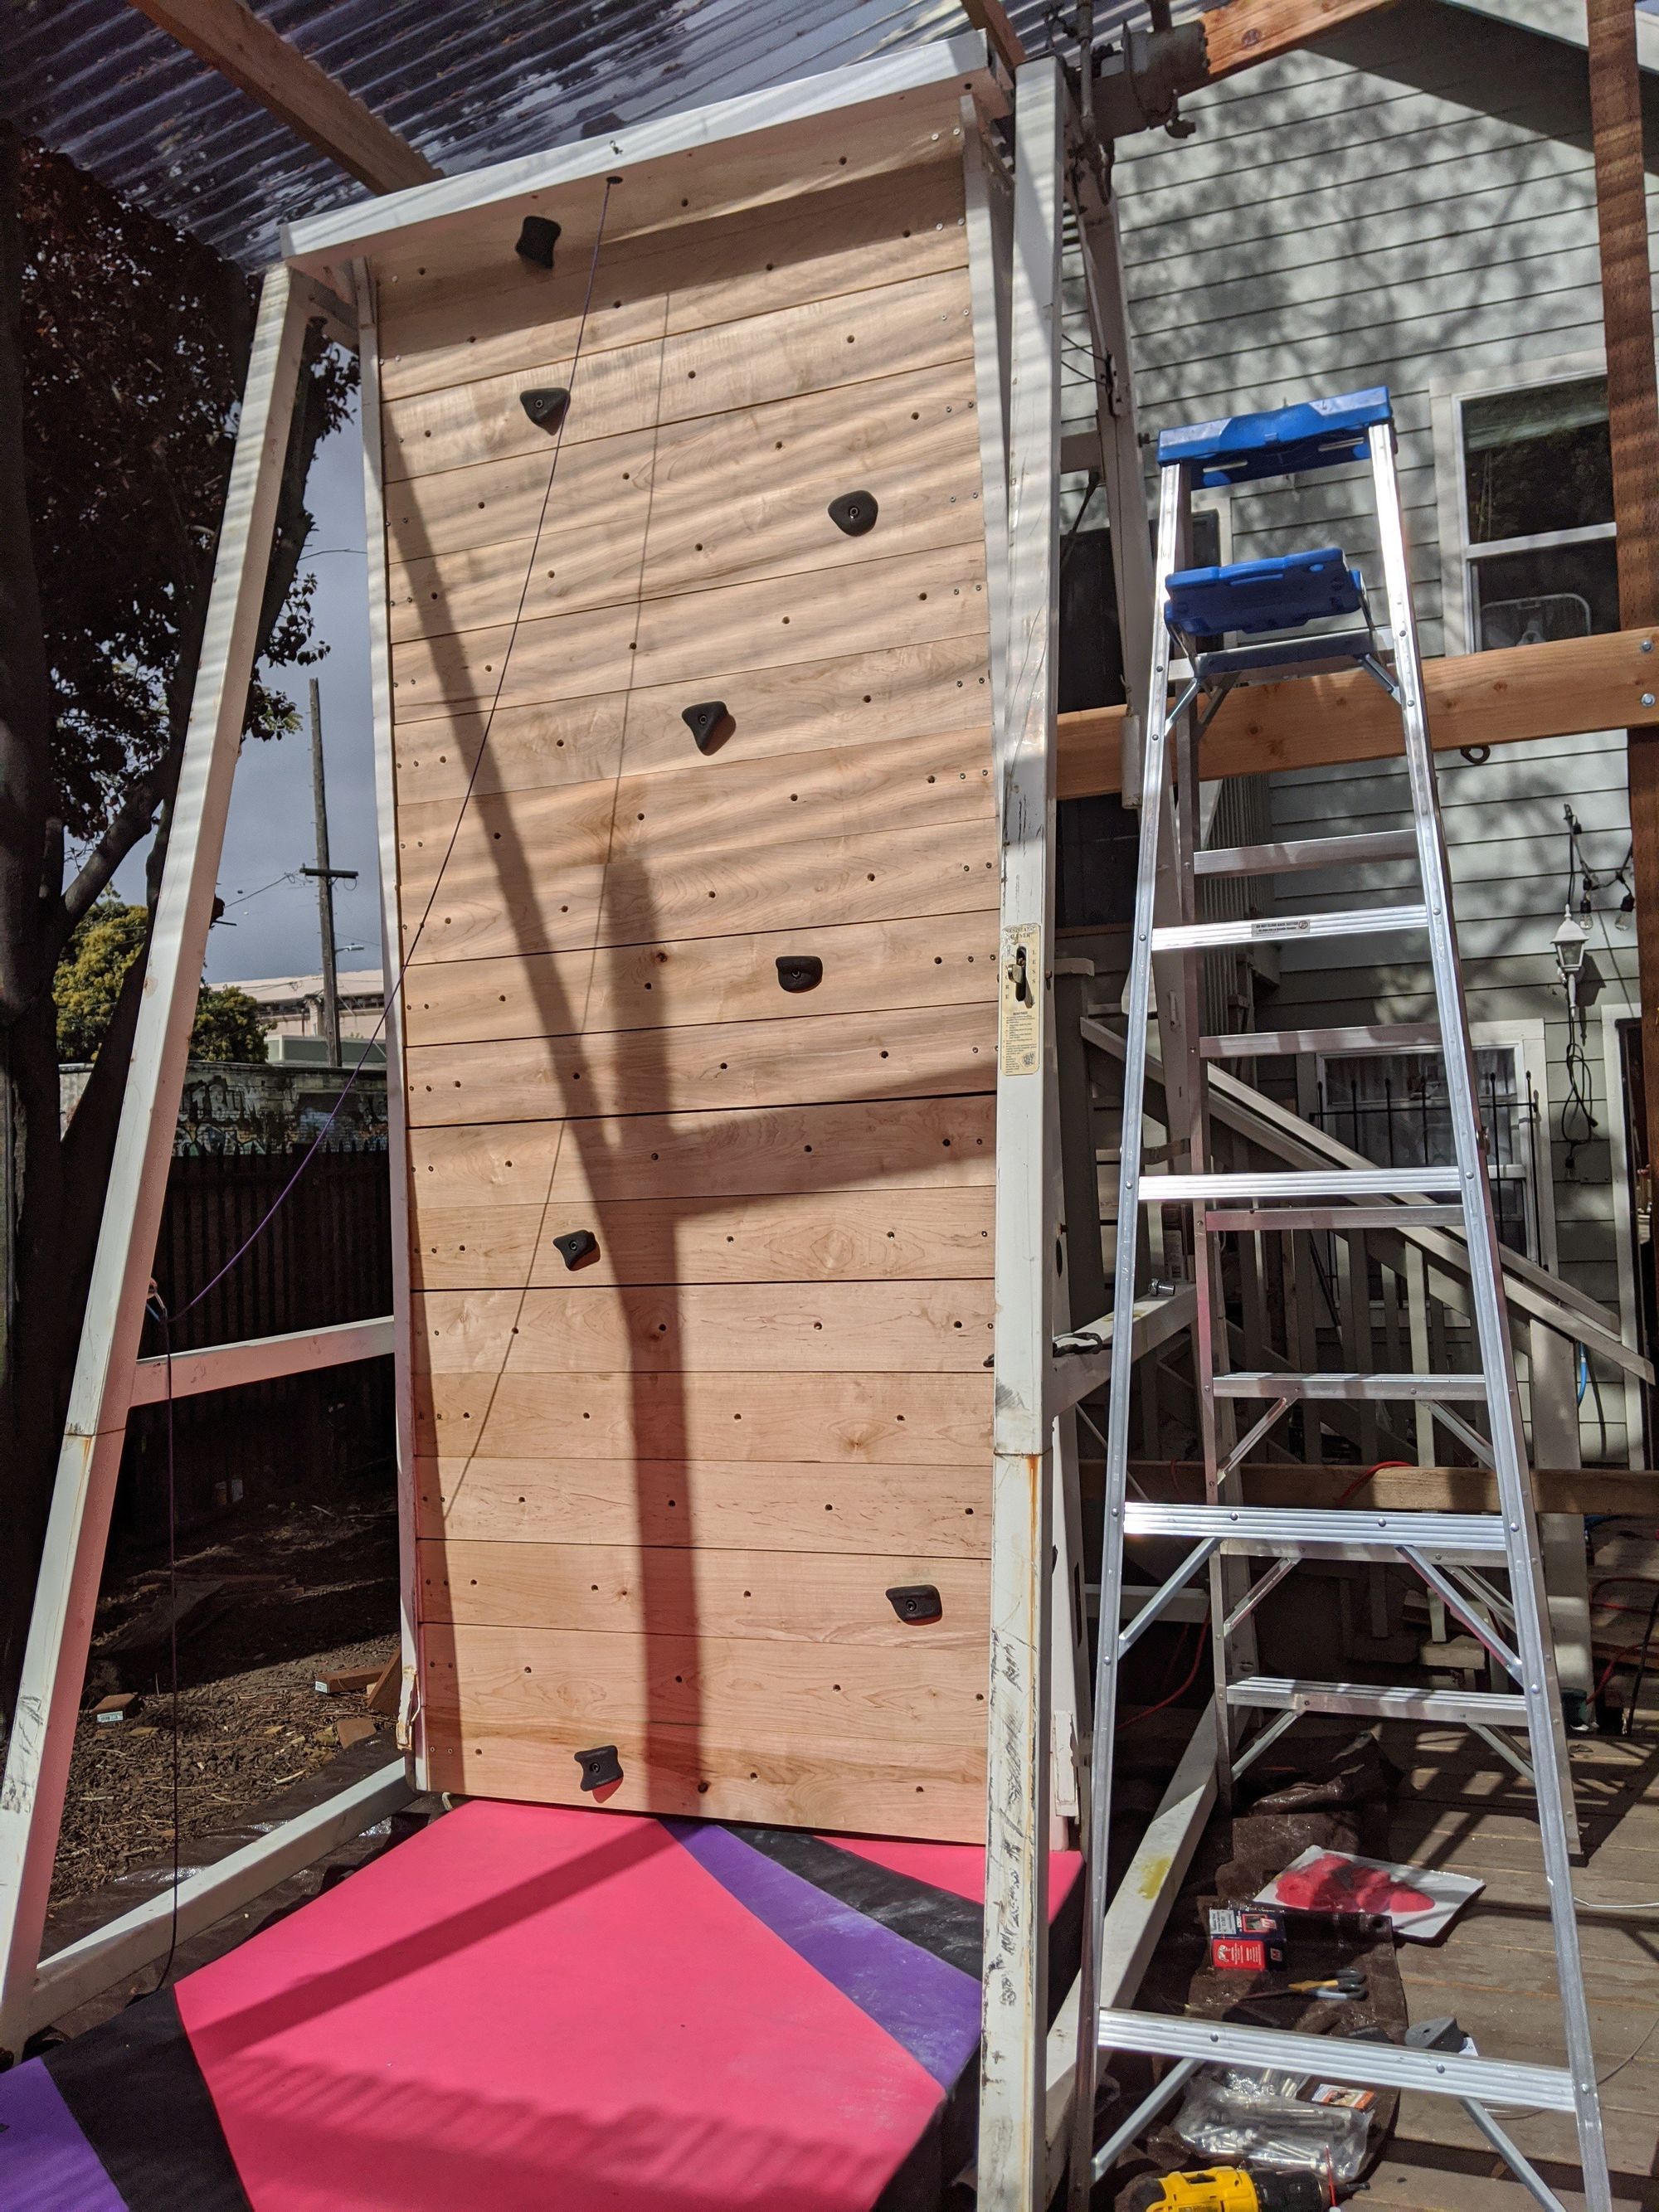
It then took me another full day to painstakingly mount ever single board by hand. But it looks amazing! So much better than the black particle board it came with.
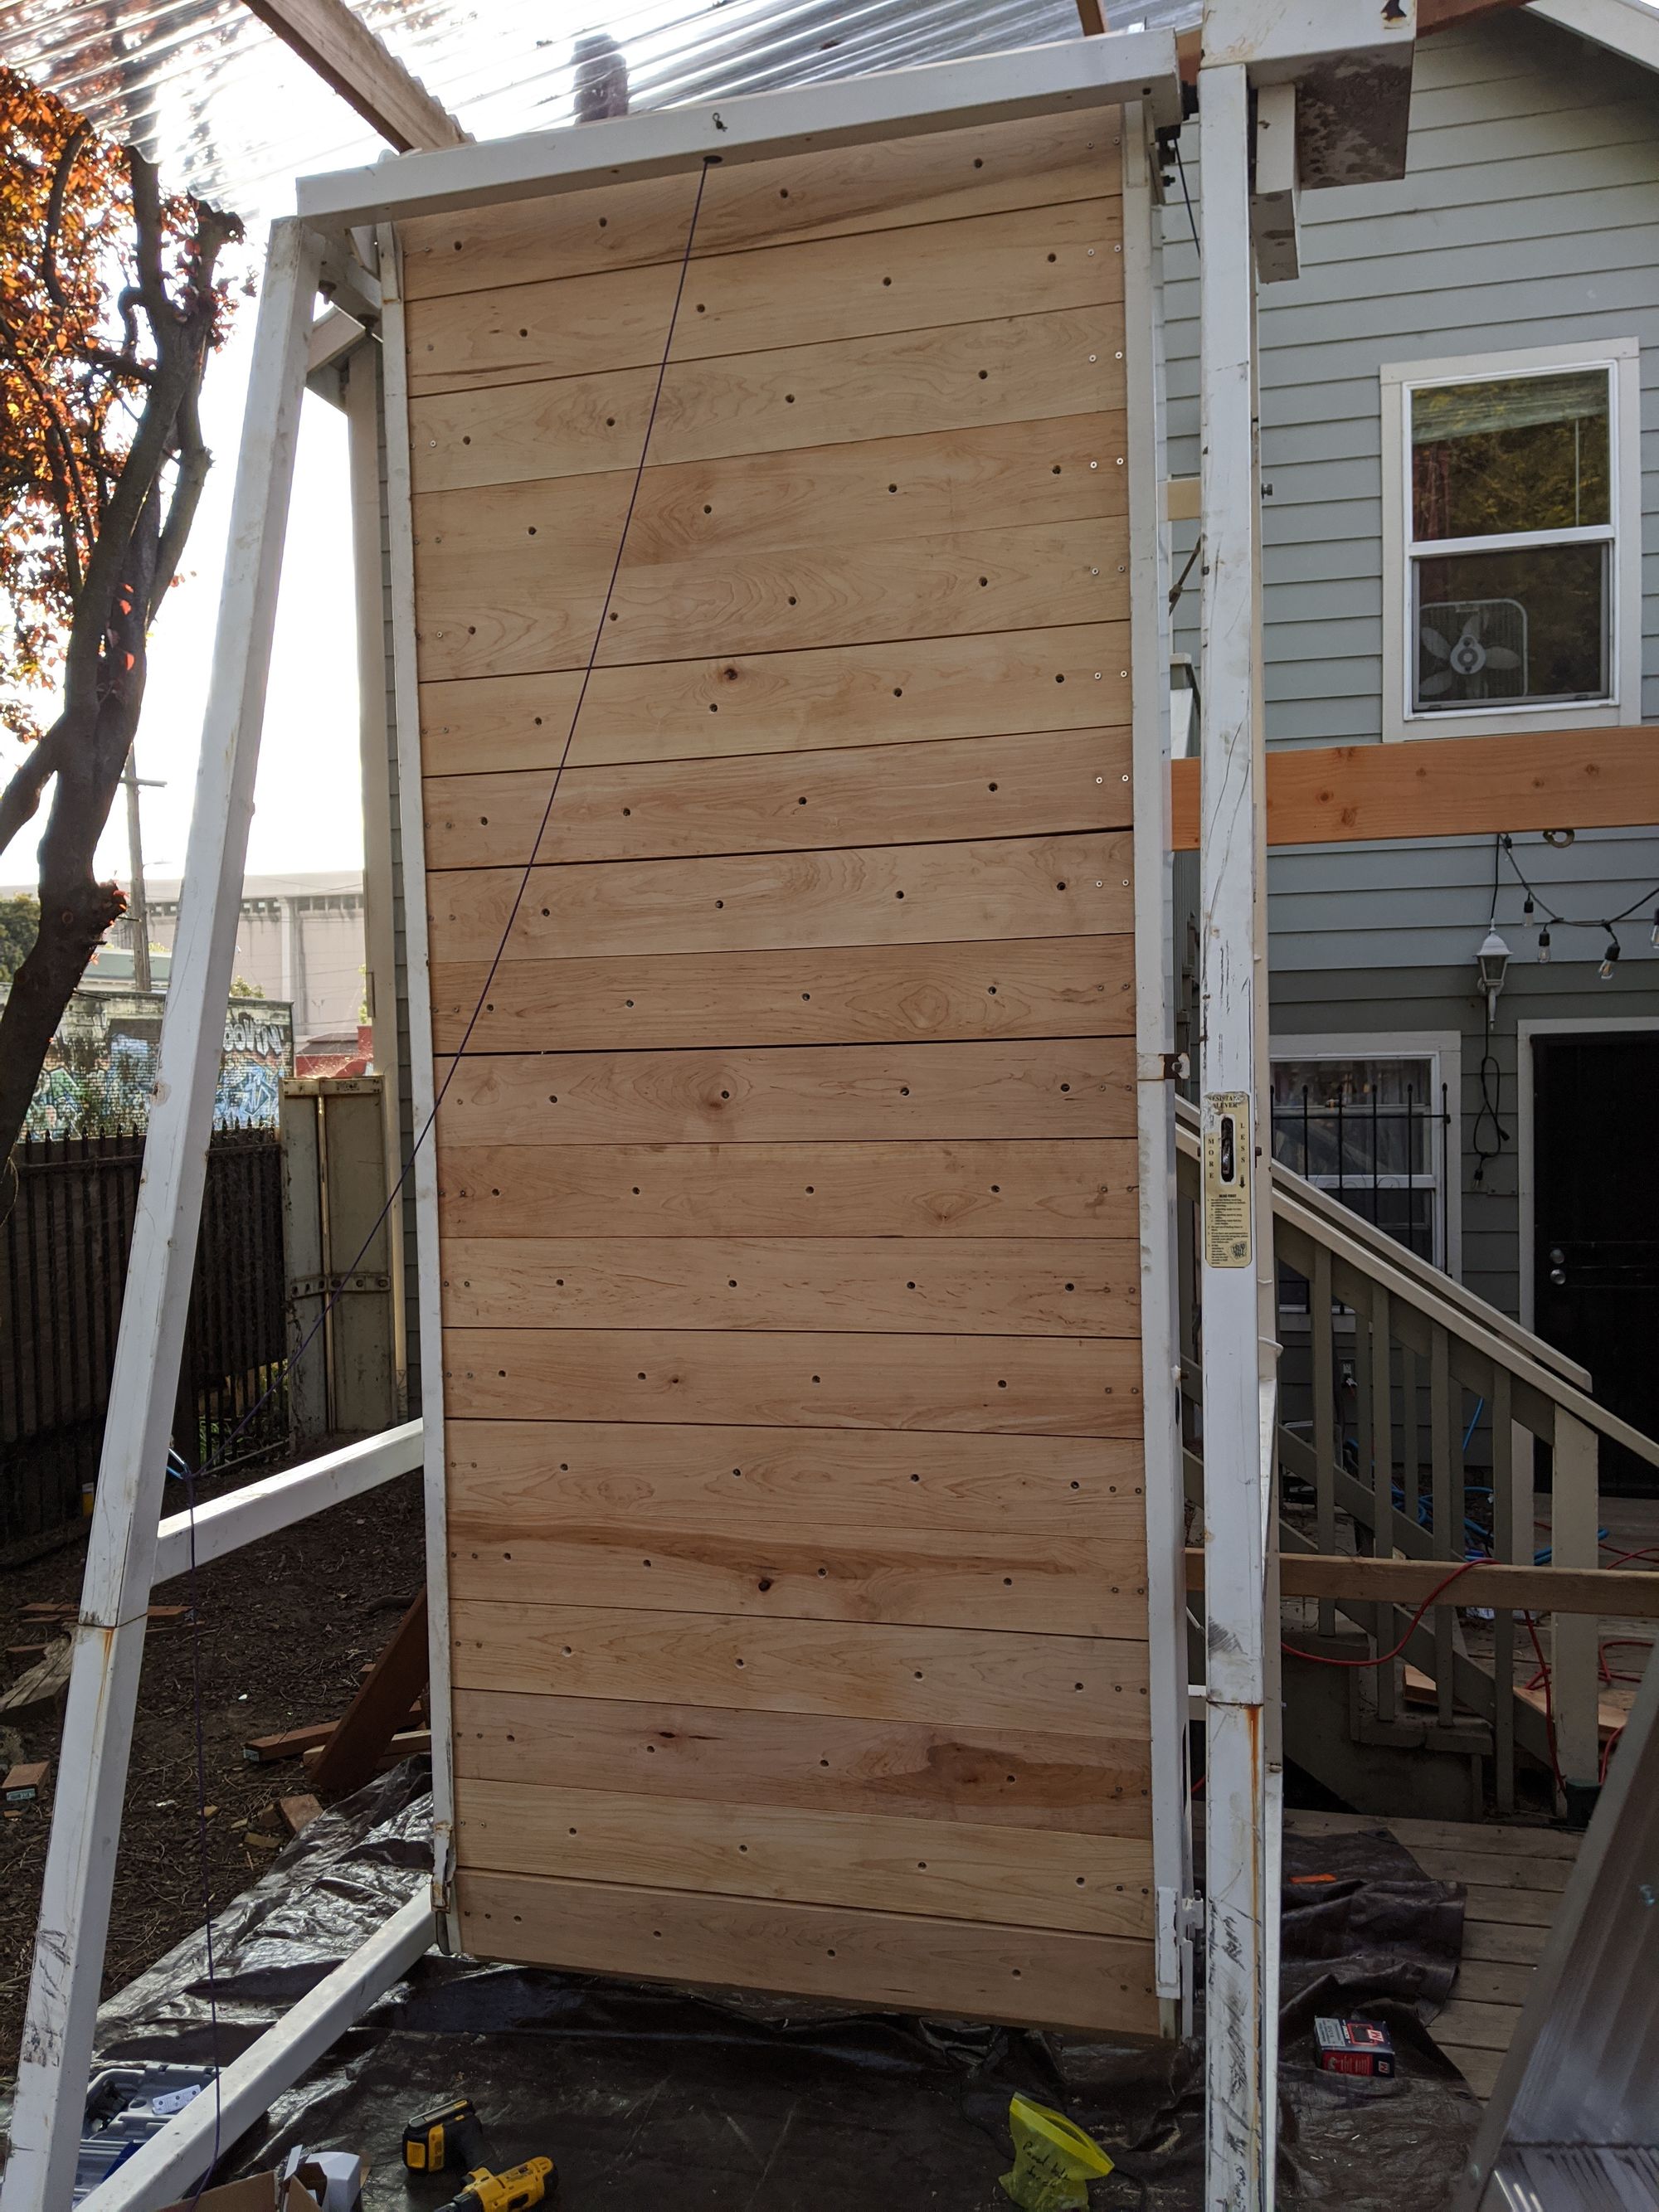
Down side is that the bolt holes ended up being slightly crooked so they required some re-work once they were on the wall. A dremel tool with a router guard and bit did the trick though!
But eventually I set my first route!
And then Spang climbed it!
The epic almost year long project is almost finish! Need stabilizing cables which are in the mail but it works! Infinite climbing is now at my disposal. pic.twitter.com/X9zH1VPLgd
— 🏳️⚧️ Kwyn ✨ (@kwyntastic) March 31, 2020
Anyways, thanks for following along. It's been an amazing journey and just in time to stay at home and get stronk. Next project might be a woodie off to the left of this so we can do some power training!